We have been working on my daughter’s pink bedroom for what feels like forever! I am so happy it is finally done (well almost done, nothing is ever really done – ha!).
We did so much in this room from adding some board and batten to painting and getting her a new bed! However, my favorite part is the rainbow sponge paint accent wall! It just pulls the room together and is my daughters favorite part as well.
Below I’m sharing the before and after pictures of my girl’s pink bedroom as well as details on how I did the rainbow sponge paint!
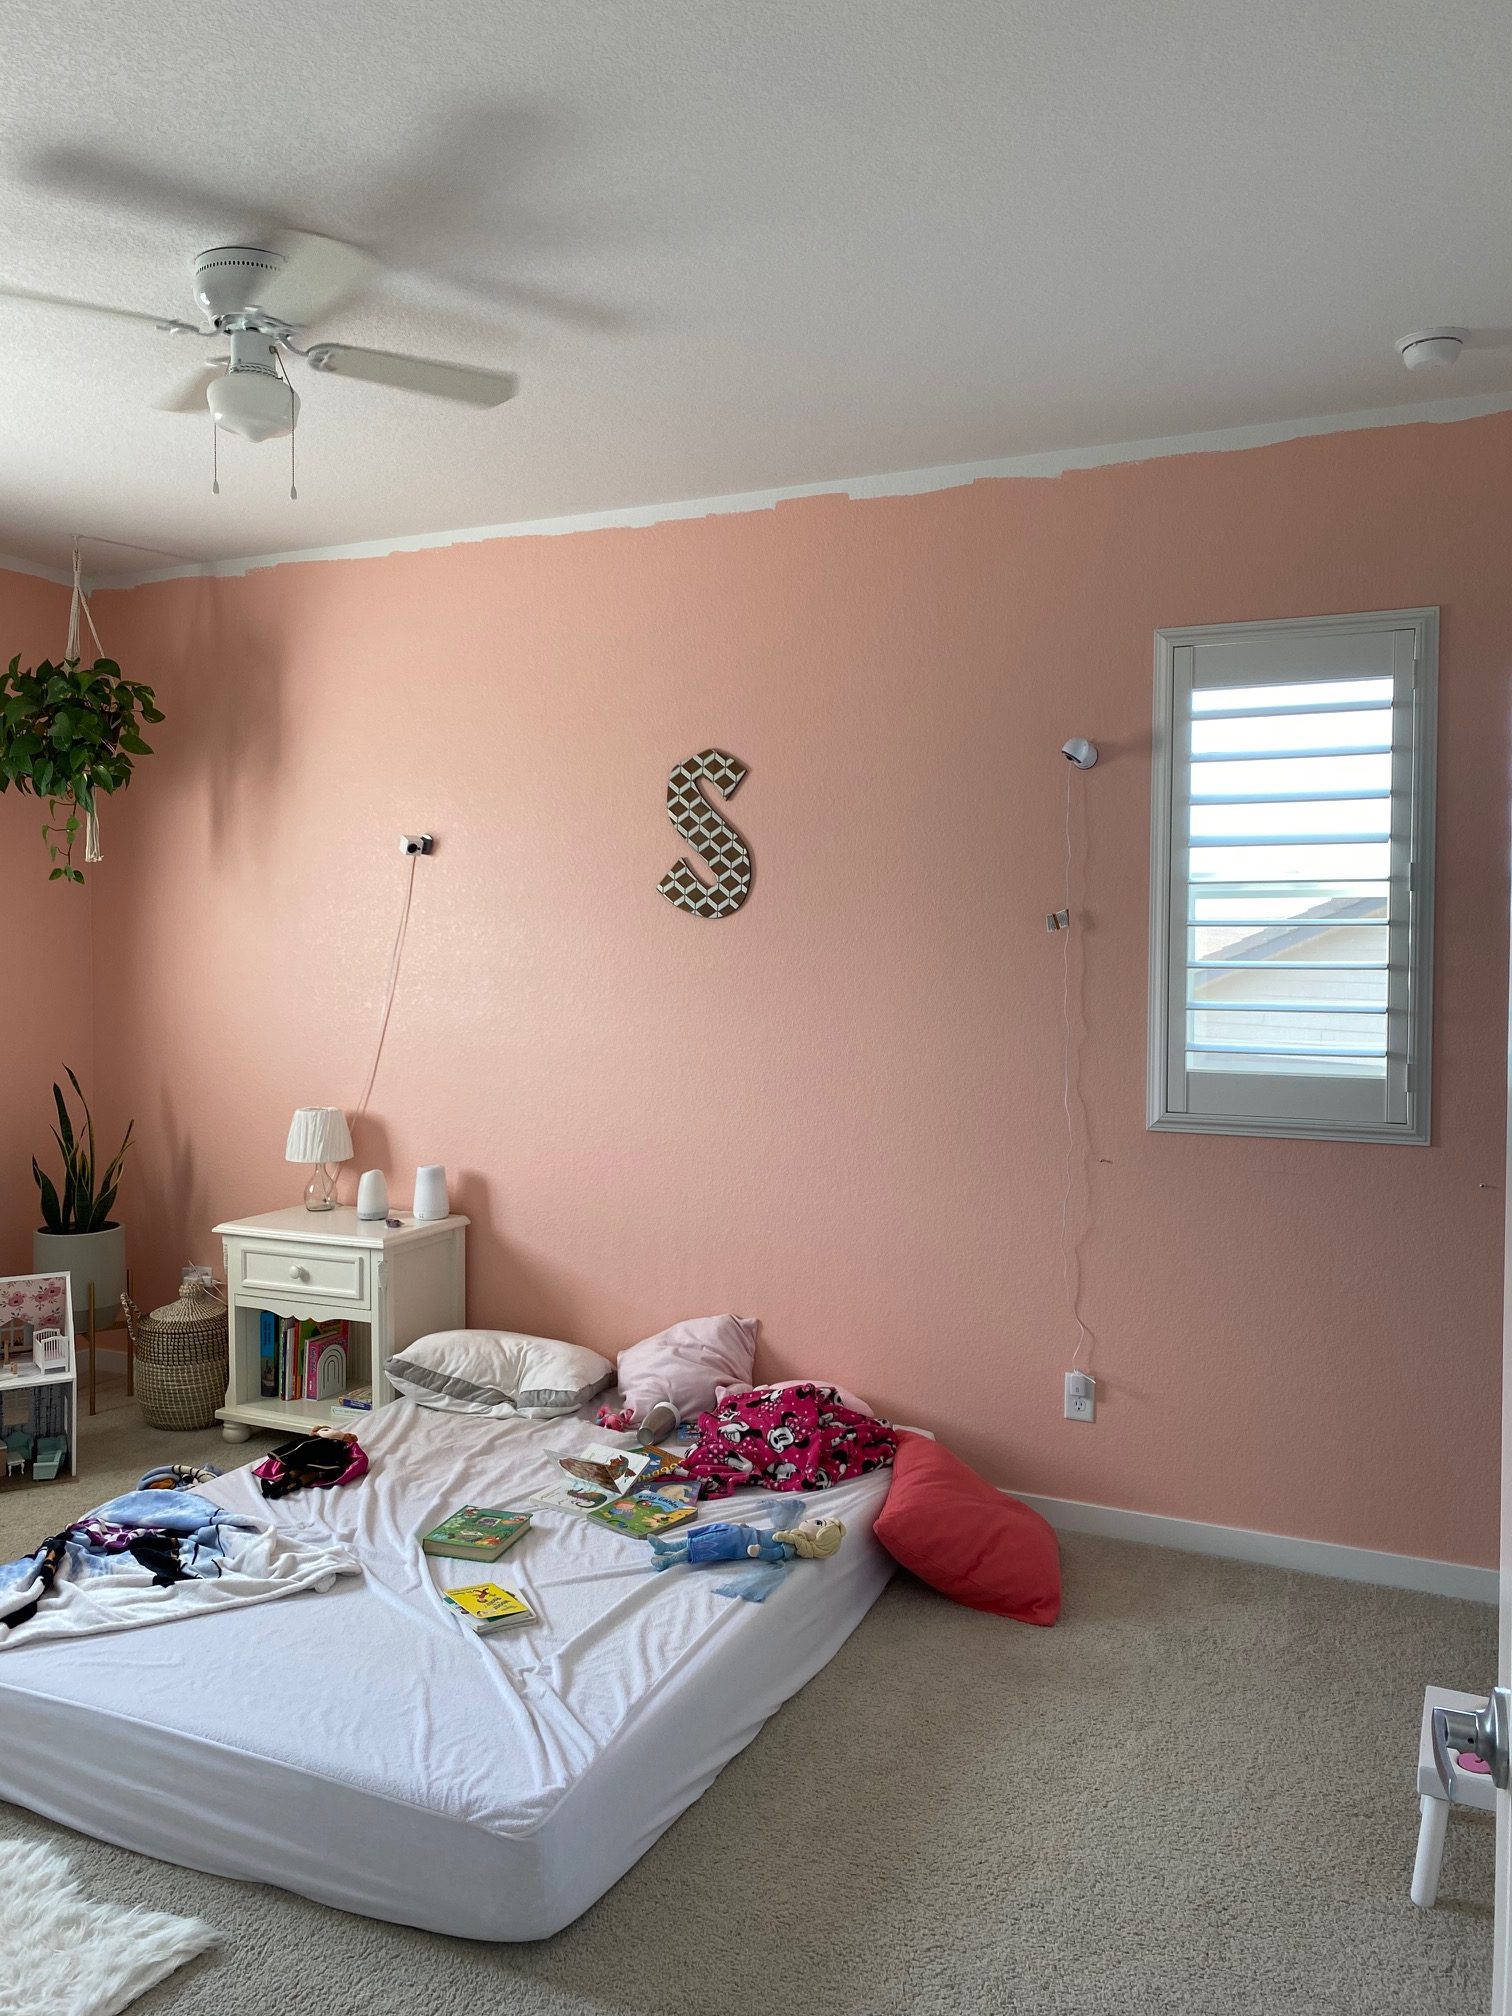
First, below is how the room started out! We moved into this house over 2.5 years ago and we started painting her room right away. We had painted two walls gray and the other two a pretty coral pink but we never finished. After a while I had decided that is not what I wanted for her room so we completely started over!
This post contains affiliate links; see our Disclosure here.

Board and Batten
The first thing we did was add board and batten! We decided to do it a little differently by using two 1×2’s side by side instead of one 1×3 which is the type of board and batten we have done in the past (like in our office which you can see here). I really love how this type turned out!

I am going to quickly give details on what we used for the board and batten so that you can do this type too if you love it!
The vertical boards are 1×2’s and the horizontal boards along the top are 1×3’s. We used common board for this. However, I highly recommend using pine board or mdf! This will save you a lot of time since we had to sand every board because the common board was so rough!
We hung everything with finishing nails using our nail gun (we did not worry about getting into studs). After they were nailed up we caulked around all the edges of each board and filled the nail holes with putty. We sanded the putty down and then painted.
The 1×2’s are hung 2 inches apart and then there is 16 inches between each set of 1×2’s. The board and batten is 65.5 inches high. Honestly, we did it at this height so that it would fall right above the headboard. You can do any height that works in your room!
If you have any other questions on the board and batten you can go to our Instagram here. There is a highlight called “Girls Bedroom” where I show in detail how we did the board and batten! Or go to this blog post where I show step by step how we did the board and batten in our office!
Bedroom Paint
For this pink bedroom we used the color Birthday Cake by Behr for the pink board and batten, doors and trim! It is a very pretty pink, not too bright and has neutral undertones.
For the white we used Pure White by Sherwin Williams. This color is much more creamy than I was anticipating so just keep that in mind if you use it!
Sponge Paint Bedroom Wall
I knew I wanted an accent wall to go along with this pink bedroom! I chose to do one above the board and batten on the wall you see as you enter the room.
I’d looked into getting wallpaper but it was out of our budget. So I decided to get creative and create a wallpaper look without the price tag! I did this by creating rainbows out of sponges!
You can do this with any shape you want! I did rainbows because my daughter loves them and I knew they would look so cute in this pink bedroom!
Supplies You Will Need:
- Sponges (I used 3, 1 for each rainbow pattern)
- Cardboard
- Sharpie
- Scissors
- Hot glue gun and glue
- String
- Paint
First, you want to trace the sponge onto cardboard to create the right size cardboard piece for your sponge.
Next, cut holes in the cardboard and put a string through to create a loop to hold onto.
Then, draw your shape with sharpie onto the sponge and cut it out.
Last, you will hot glue the sponge shapes onto the cardboard. Make sure you glue really well so the sponge doesn’t peel up when you start dipping in paint and putting it on the wall!
Below are the 3 different patterns I ended up using. Each one I used a different color pink (I mixed these so I can’t tell you what colors they are exactly).
Tip- make sure you check the paint color on your wall before putting it all over. The lightest pink was a little too light for my liking (which is why it’s hard to see in pictures) but it was too late by the time I realized it! So learn from my mistake!
That’s it! Super easy and this allows you to take sponge painting to a whole new level! You can get creative and make so many different shapes using this technique!
Also, this cost me under $3 because I already had the paint and supplies. I only had to buy the sponges (I used these ones from Amazon).
To put it on the wall I put paint on one paper plate to dip the sponge in. I also had a second paper plate that I used to dab the excess paint off before putting the sponge onto the wall. I highly recommend this so you do not have any drips.
Definitely practice on a big piece of cardboard first to get a feel of how much paint to use and how hard to push on the sponge!
Bedroom Furniture
We used a mix of old and new to furnish her pink bedroom.
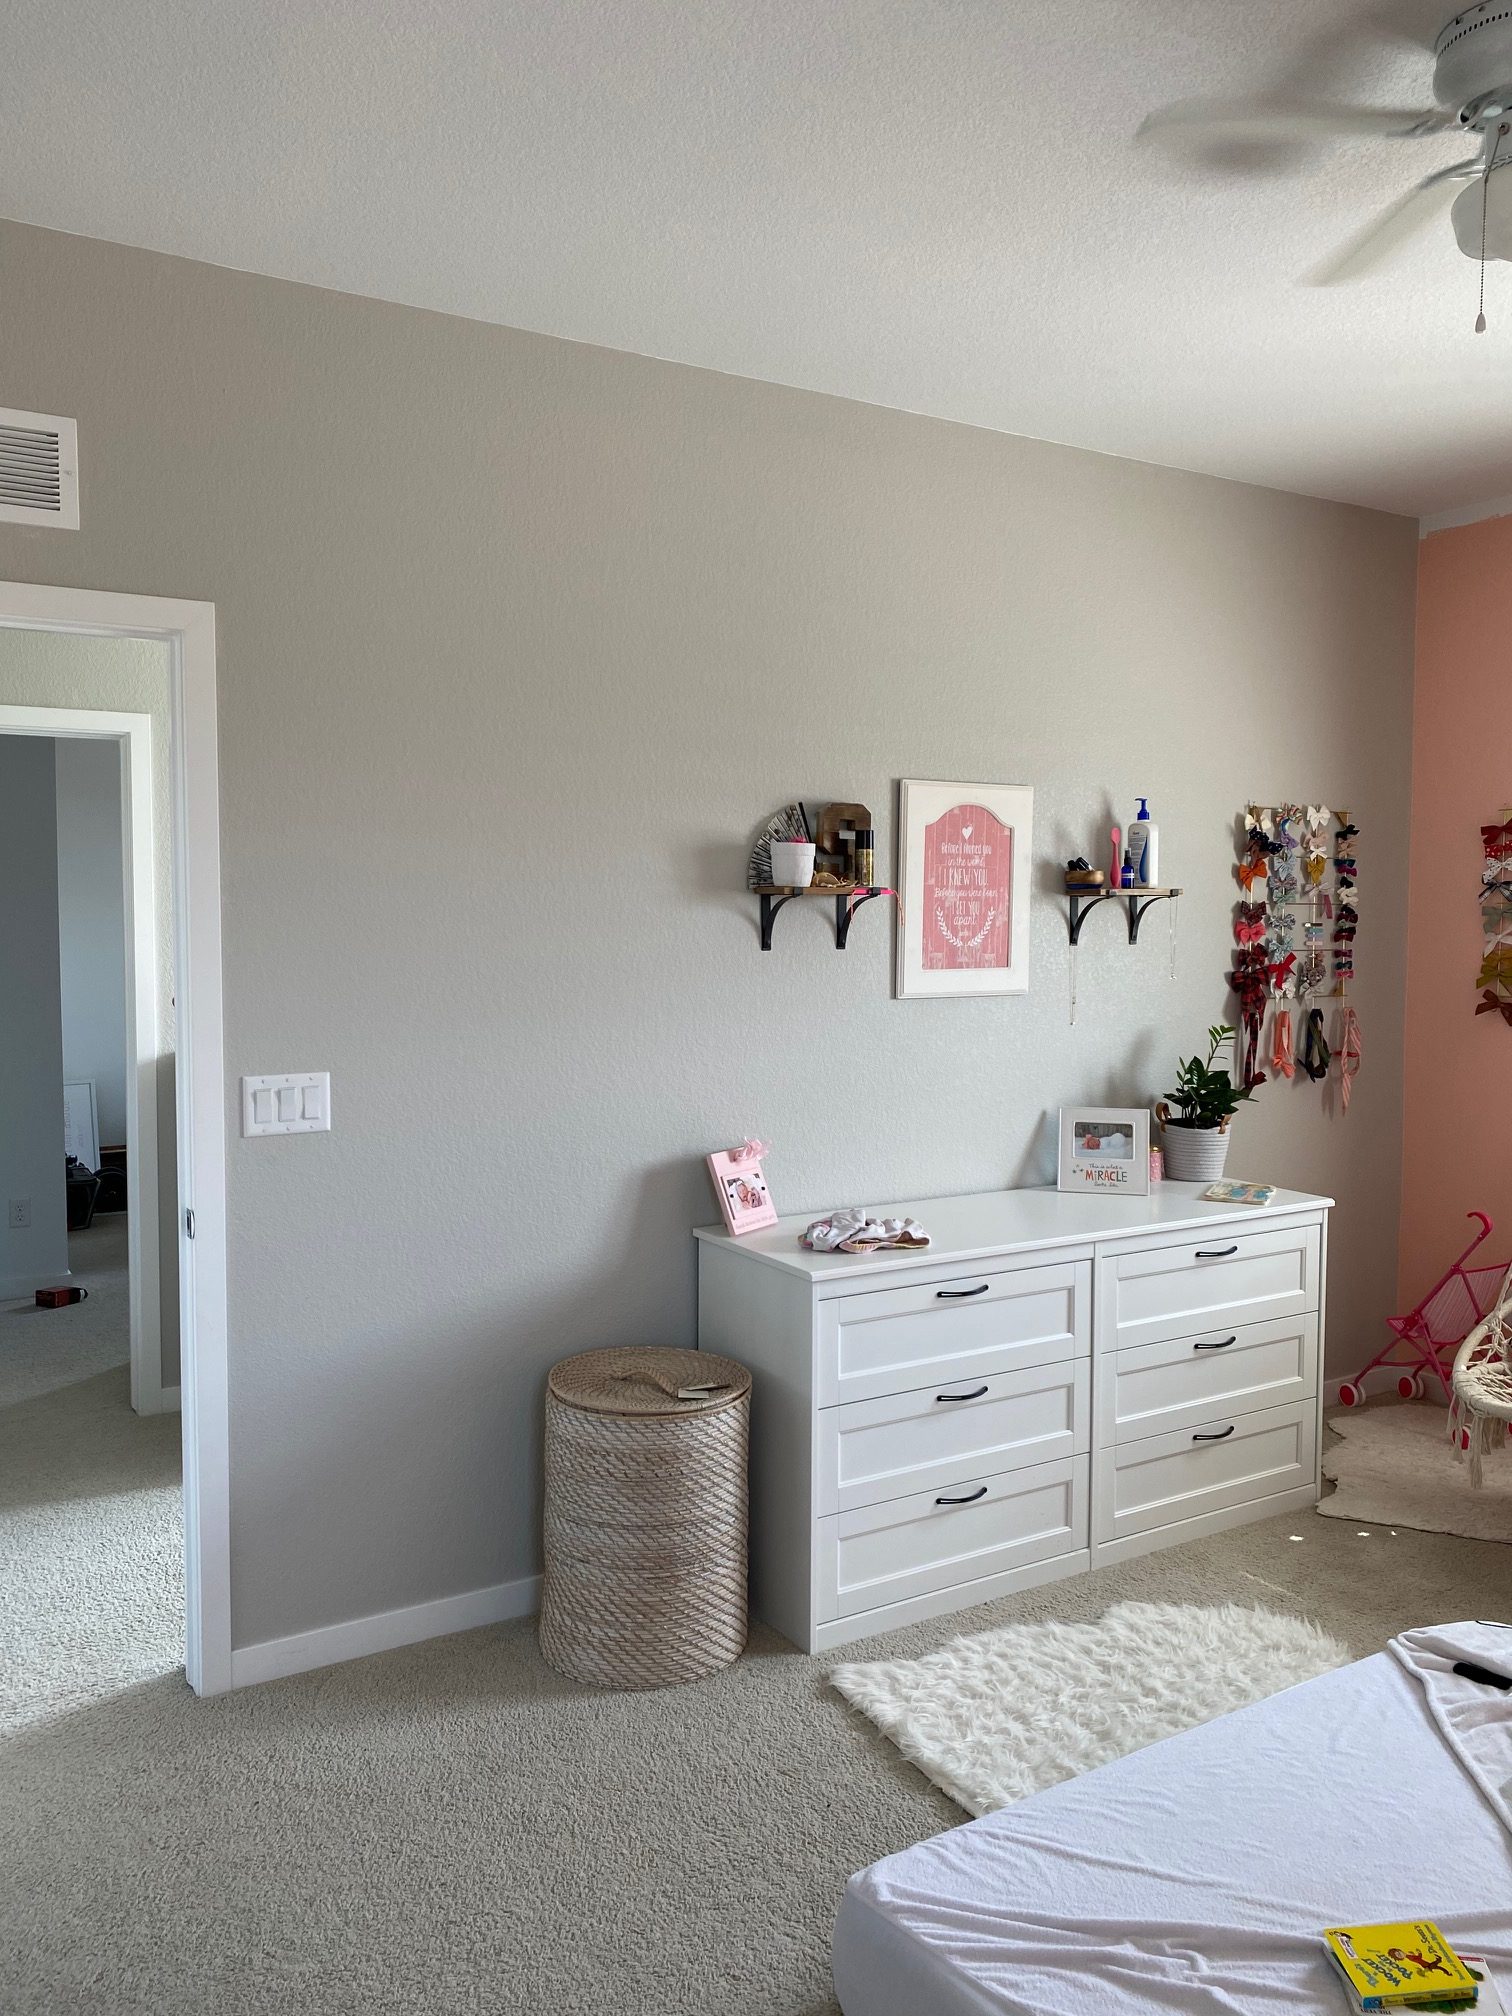
She already had the dresser (we bought it from Ikea, find it here). I didn’t do anything to it, however I still would like to change out the hardware at some point.
Her nightstand was free from a neighbor (not sure where it is from) and we gave it a new coat of pink paint, slightly darker than her wall.
The rest is all new! Her rattan headboard is from Bed Bath and Beyond (it can be found here)! It is so pretty in real life and I think it is really great quality for the price! Rattan headboards are not cheap!
Her bed frame is from Amazon but came black with wood looking legs. We painted the whole thing the same white as the top half of her walls because we couldn’t find a budget friendly white bed frame (this is the one we got and painted).
The rug is actually going to be replaced at some point as the colors are a little too coral and doesn’t match her new pink bedroom color very well.
Her swing is from QVC but they no longer carry it, Amazon has an identical one here. She absolutely loves it and uses it every day! I love how it takes the place of a huge chair in here but it still gives us a place to read to her!
Her curtains are so pretty, I love the texture they add to the room! They are from Amazon, are super budget friendly and can be found here!
Bedroom Bedding
Her pink throw pillow covers on her bed are from Amazon as well (find them here). I made the rainbow pillow. I will be sharing how I did that on our Instagram soon!
My daughter and I are obsessed with this bedding. It is almost like a sleeping bag for your bed! It zips all the way around so that the comforter can be removed from the sheet part of the bedding.
We love it because as my daughter says, “I feel so cozy”. She loves having it zipped up at night so that it stays on her. Also, she can now easily make her own bed which makes this mama really happy!
We got the style: Love At First White (now discontinued) and love the texture of this one! If you are looking for new bedding, definitely check out Beddy’s. They are also a small, mom owned small shop! Which I love supporting!
Use code SPRUCING for 20% off!
I hope this answered all of your questions about my daughters new pink bedroom! We love how it turned out and I hope you do too!
Now that this is finished I can go back to working on the nursery for baby girl #2! I did want to quickly mention that I decided to pull out of the ORC (One Room Challenge) for personal reasons. However, we are still working on the nursery, just at our own speed! I will be writing a blog post on how that is going here next week! So stay tuned for that!
Have a great weekend!
Shop This Post Below:
I love it! The rainbow stamp turned out so cute! Her headboard is amazing! Beautiful job Kaylee!
Awe! Thank you so much! Lots of love went into this room and Skyia is thrilled with how it turned out!
This room is adorable. Love the sponge idea. The pink color is beautiful but I can’t seem to find birthday cake by behr anywhere. Is this the correct color name?
So gorgeous. Rainbow stamp is such a great idea and the pink is lovely. I cannot seem to find birthday cake by behr anywhere. Are you certain that’s the name? Painting my daughters room and this is the pink we want 🙂
Hi Sarah! Thank you! I wonder if they discontinued it? If you send us an email I am happy to send a picture of the barcode that you could bring to Home Depot so they can make this exact paint color! But my can does say Birthday Cake… so weird!
I love this bedroom!!! Where is the rug from?
Hi Nicole! So sorry that took forever for me to respond! I just added the link to the rug in the blog post!
Hi! I love the hamper next to the dresser. Would you kindly share where I can find the same or similar?
It was a Serena and Lily dupe from Homegoods!
you said the birthday cake is by bher Im not finding it
Sorry the paint color is Behr Birthday Candle!
Hi – are your walls totally smooth or did you have a backer to the board and batten are?
Love this and we are going to do it in my daughters bedroom!!
Hi! No we have textured walls and left them as is. It doesn’t bother me at all and wasn’t worth the extra work and $ to make them smooth.
Hi! How tall are your ceilings?
They are 9′ high ceilings.
Hello, what did you do under the window for the top? And did you just go to the stop of the base board?? Love it
Hi, the board sits on top of our existing base and goes to the existing frame of the window (which is part of the shutters we had installed). Hope that helps 🙂