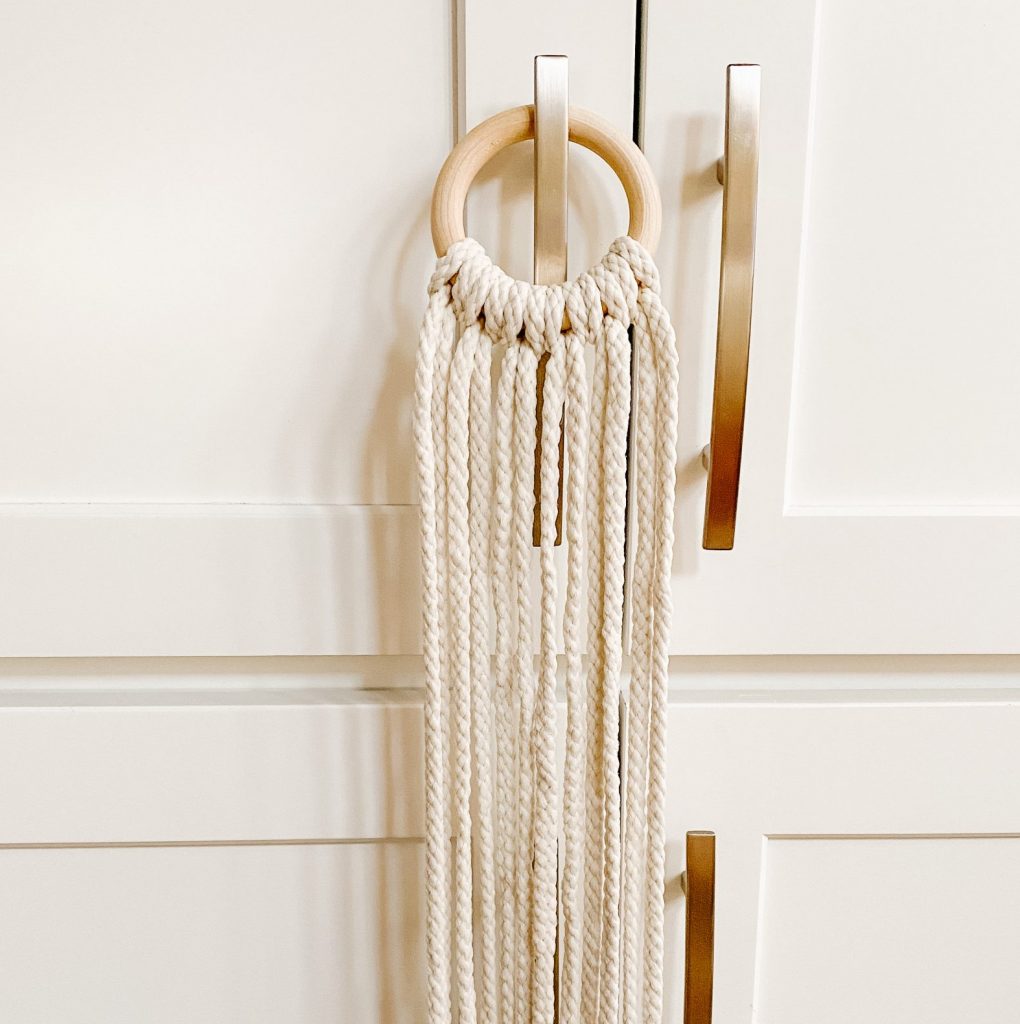
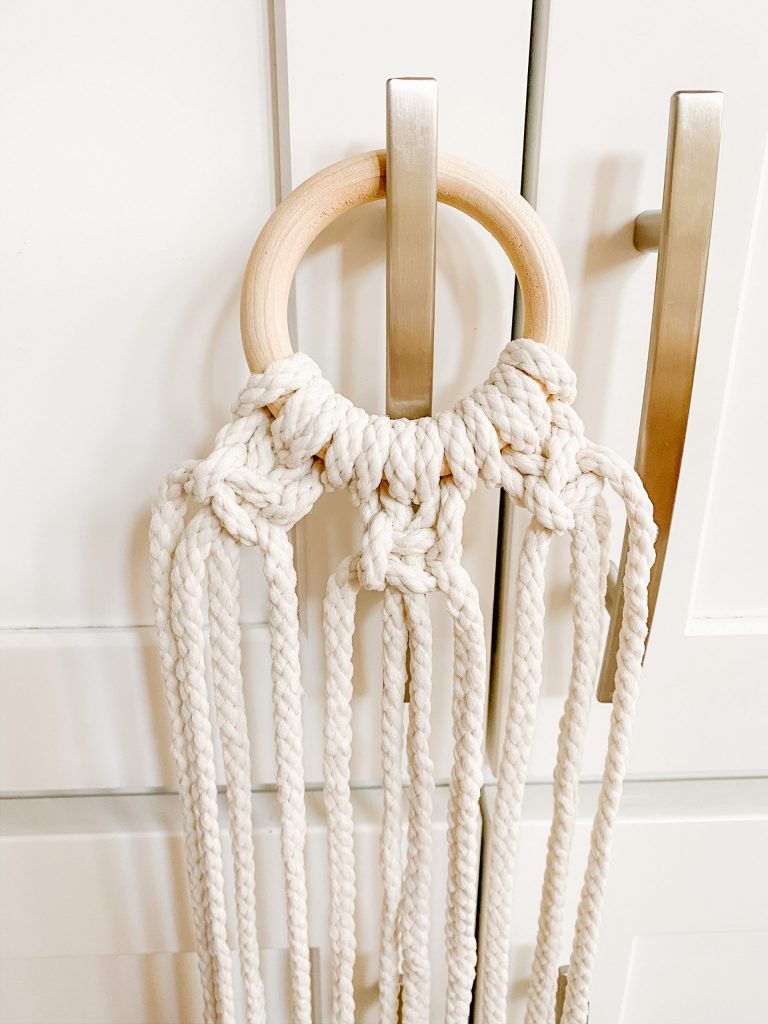
This post is all about DIY Macrame Plant Hangers
I’m officially hooked on macrame! I’ve always wanted to try to make DIY Macrame Plant Hangers, but for some reason thought it was going to be much more difficult than it was!
Granted, I did start out with some pretty simple projects, but I am looking forward to moving on to some more difficult projects now! I’m hoping a wall hanging is in my future, haha!
Below I am sharing the two DIY Macrame Plant Hangers I made, and the tutorials I used! I am going to try to explain how I made these, but I do recommend checking out the tutorials because it is way easier to watch the videos!
Maybe one day I will film my own, but until then – YouTube is a great resource for macrame tutorials!
THIS POST IS ALL ABOUT DIY MACRAME PLANT HANGERS
DIY Macrame Plant Hanger #1
This first DIY Macrame Plant Hanger that I made was super simple and fast to make!
The supplies also cost so little! I probably spent a couple of dollars on this total, and this is so similar to one that you would find at World Market for $15.
I wanted to start with something very basic because I had never tried to macrame anything before, so if you are a beginner this is for you!
When I decided that I wanted to make a plant hanger I went to YouTube and searched for a tutorial, and landed on this one! I love YouTube for craft tutorials! I actually really love Emily Faiths whole YouTube channel! She has a ton of great tutorials and both of these plant hangers that I made are from her tutorials! Definitely check out her page!

Supplies used for DIY Macrame Plant Hangers:
I recommend watching the YouTube tutorial if you would like the steps on how to make this plant hanger, but here are a few process photos to show you the main steps:

And here is the finished product for the first plant hanger!
I love how it turned out and again it was SO easy to make! You can make it shorter or longer than this based on how long you cut your ropes to begin with. Mine were about 15 feet long (3 arm spans).
You can also make the fringe at the bottom longer or shorter, based on your preference.
For reference this is showing a 4 inch pot but could easily fit a larger one.
DIY Macrame Plant Hanger #2
The second one that I made was also super simple and quick to make!
It uses the same knot as the one above does – a square knot.
I added a few wood beads to this one, and it would be very easy to customize if you wanted to add more. This video tutorial was also by Emily Faith!

Supplies Used:
Again, check out the video tutorial for step-by-step instructions, but here are a few process photos!

Here is the finished product for the second plant hanger! I love the wood beads!
For reference this is showing a 4 inch pot but could easily fit a larger one.

I’m so happy I tried these DIY Macrame Plant Hangers out because I’ve been wanting some macrame plant hangers for a while and almost bought a few!
I can’t wait to try out some more macrame crafts and will definitely be posting some more tutorials soon!


For more DIY craft tutorials, check out my DIY Winter Wreath!


See our disclosure here.


Hi..how long are the finished planters? To the knot under the pot? Thank you
Hi! From the wooden ring to the knot they are about 3 feet long.