This post is about how we transformed a $100 secondhand Pottery Barn entertainment center into a custom-looking playroom built-in using paint, a little creativity, and some DIY tricks—perfect for anyone looking for budget-friendly playroom storage ideas.
We gave our basement playroom a big makeover about a year ago, and while the layout and finishes still feel great, there were a few lingering spots that needed love—especially the TV wall. I’d been keeping an eye on Facebook Marketplace for the right piece of furniture to complete the space, and I finally found it: a solid wood Pottery Barn entertainment center in great condition for just $100! In this post, I’m sharing the full transformation—how we flipped this Marketplace find into a custom-looking DIY playroom built-in, complete with storage and a space for the TV. Plus, some cute playroom decor and shelf styling inspo!

A Quick Look at the “Before”
Here’s a look at what our basement playroom looked like before our makeover:
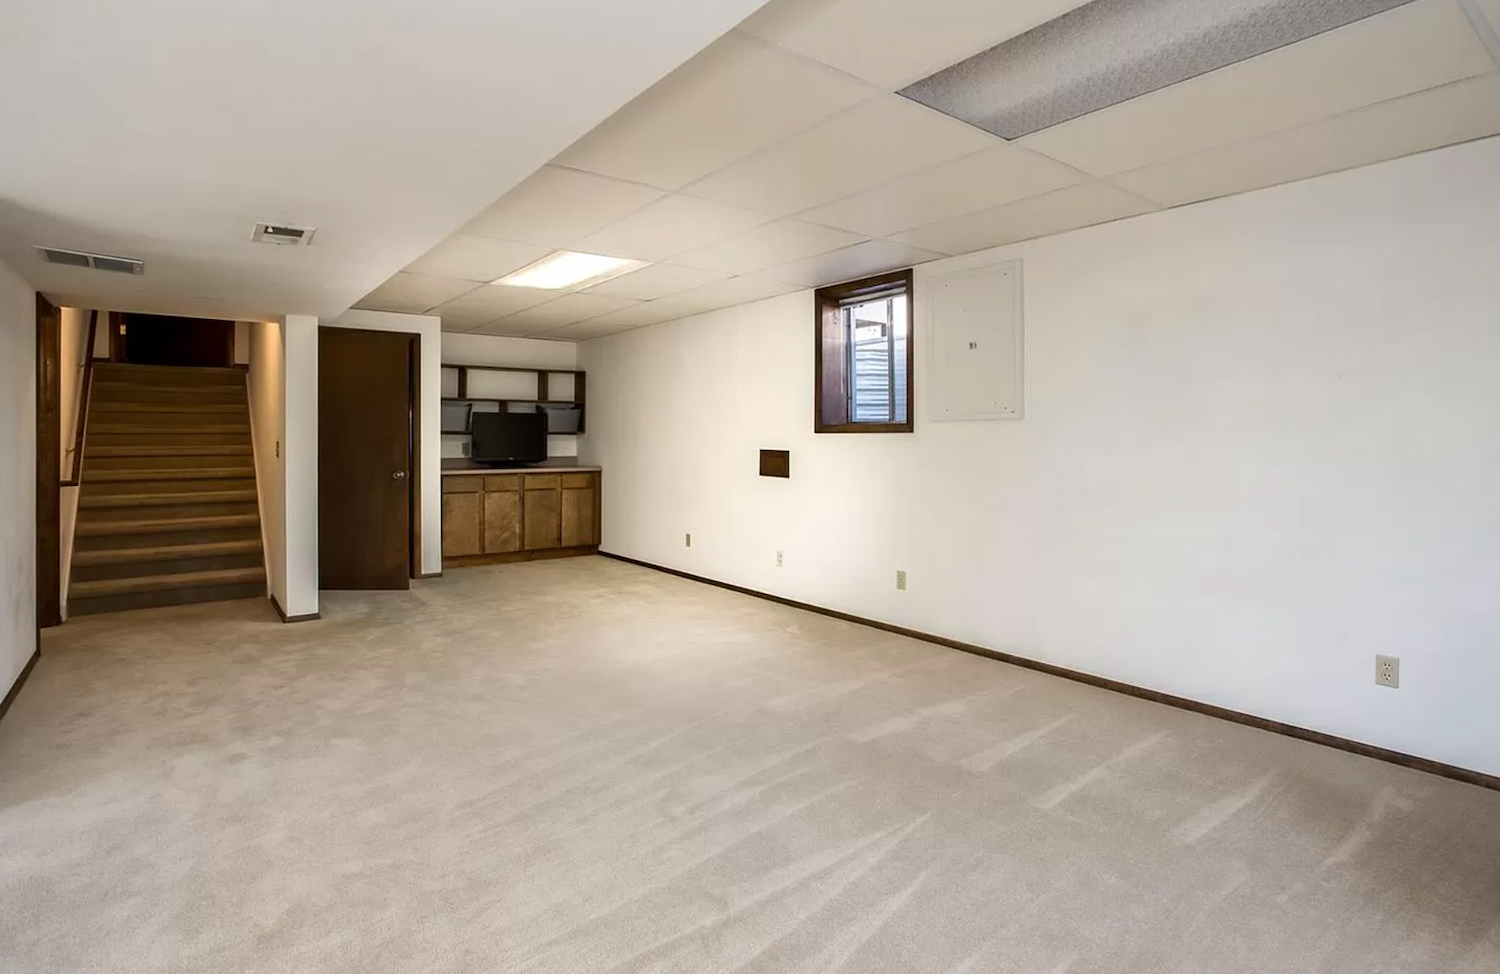
Our home was built in 1978, and I’m pretty sure this room hadn’t been touched since then—aside from some newer carpet. It felt dark, dated, and definitely not the colorful, cozy playroom I had in mind.
After living here for about four years, we were finally ready to give it some love. Here’s what the space looked like after the big makeover:
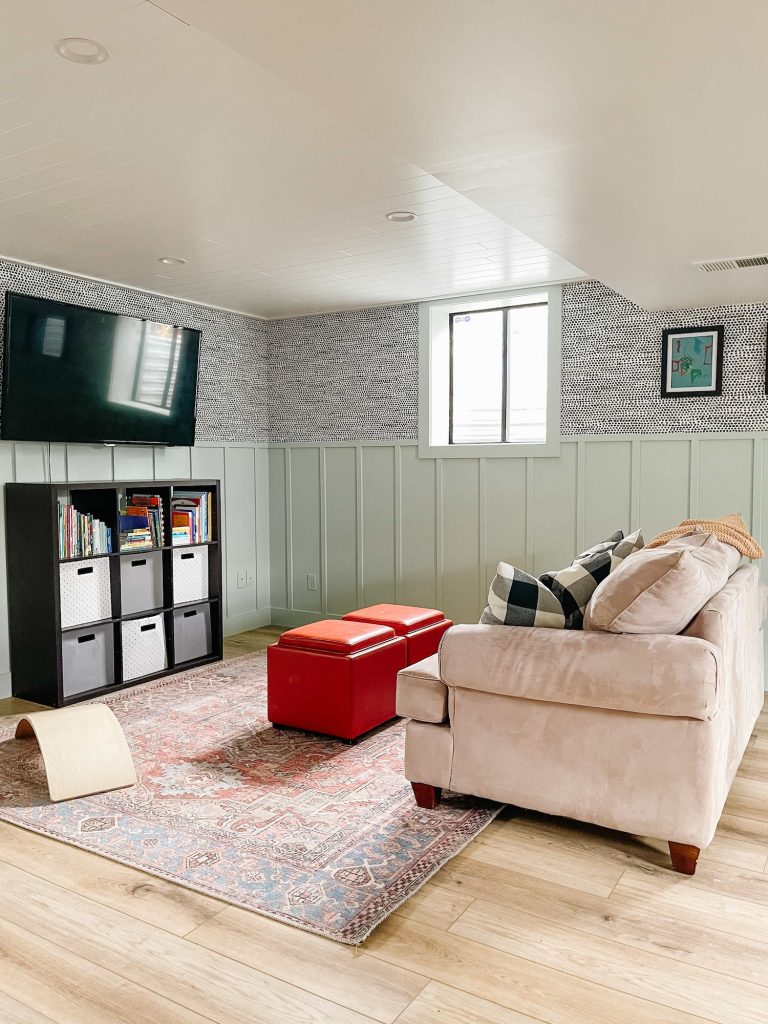
We love how it turned out! The room feels so much brighter and more fun, and the kids have been playing down there so much more. But as you can see… the TV wall? Still very much a work in progress.
We had been using an older cube shelf as a placeholder under the TV while we figured out what we actually wanted. I knew I wanted something with storage that could look more custom—and that’s when I found the perfect piece on Facebook Marketplace.
Scoring the Perfect Secondhand Find
I’d been keeping an eye on Facebook Marketplace off and on for the past year, hoping to find something that could work under the TV—ideally a piece with storage, the right scale for the wall, and bonus points if it could be painted to look more custom.
So when I spotted this solid wood Pottery Barn entertainment center for just $100, I jumped on it immediately! It was in amazing condition, the perfect size for our playroom wall, and had those classic lines I knew would shine with a fresh coat of paint.
Here’s the original listing photo:

Even better? It was already designed to hold a TV and hide all the cords, which meant fewer modifications for us. It felt like such a steal, and I was so excited to get to work fitting it into our space!
Why I Love Facebook Marketplace for Home Finds
Facebook Marketplace is always my first stop when I’m searching for something for our home—or even for baby and kids’ gear. You can find high-quality secondhand pieces (and sometimes even brand new items still in the box!) for a fraction of the price you’d pay in stores.
Here are a few tips for perfecting your Facebook Marketplace game:
- Save frequent searches – Use specific keywords like “Pottery Barn media console” or “wood bookcase” and hit “save search” to get notified when new listings pop up.
- Use brand names in your searches – Searching for “Crate & Barrel,” “Anthropologie,” or “Potterybarn” can help you find higher-quality items faster.
- Check often – New items are listed constantly, so checking 1–2x a day can give you first dibs.
- Message quickly and politely – A short, friendly message like “Hi! Is this still available? I’m very interested and can pick up today!” can go a long way.
- Be flexible with location – Expanding your radius just a little might open up more options—especially in larger metro areas.
- Don’t forget about filters – Narrow your search by price range, item condition, and distance to avoid scrolling forever.
- Save items that match your style – Even if you don’t plan to buy them, saving listings that reflect your taste helps train the algorithm to show you more of what you actually want.
How We Made This Entertainment Center Work for Our Playroom
Once we brought the piece home, we got to work transforming it into something that looked more custom and suited to the rest of our playroom. Here’s a breakdown of how we updated the entertainment center—from dark wood and traditional to bright and kid-friendly.
Step 1: Prep the Wall + Position the Unit
Before doing anything to the piece itself, we made sure it would sit flush and centered on our wall. That meant:
- Measuring the wall and marking the center point
- Removing the existing baseboard/moulding so the unit could sit right up against the wall for a more built-in look
- Carefully sliding the unit into position and making sure it was level
Step 2: Remove Hardware and Doors
We started by taking off all the doors, shelves, and hardware to make priming and painting easier. If you have a lot of pieces, make sure to label everything or take photos to remember how to put it back together later.
Step 3: Clean the Unit + Prep the Wall
The entertainment center was in great shape, so instead of sanding it down, we gave it a good cleaning with a damp cloth to remove dust and surface grime before priming.
We did sand the wall behind it to smooth things out after removing the baseboard—especially to get rid of any leftover caulk or wall texture.
We also taped and caulked all the edges of the unit to the wall and floor to make sure the paint lines were clean.
Step 4: Prime + Paint the Surface (With a Sprayer for Speed)
To speed things up—especially with all the doors, shelves, and nooks—we used a paint sprayer instead of brushing everything by hand. Highly recommend if you’re working with a large or detailed piece!
Since we had already caulked the unit to the wall and floor for a built-in look, everything had to be painted in place—right there in the playroom.
We used a high-quality bonding primer made for glossy surfaces to ensure long-lasting results. This step is super important if you’re working with factory finishes or laminate!
We sprayed the primer first and quickly learned that overspray travels farther than you think! Let’s just say a fine layer of primer dust found its way across the room. Before spraying the paint, we properly tarped the space using these tension poles. Lesson learned!
For the color, I considered going neutral to tone things down a bit—but in the end, I decided to embrace the green and go for a tone-on-tone look. We landed on Benjamin Moore Herb Bouquet, in a semi-gloss finish, a soft green that’s slightly deeper than the wall color (BM Jack and the Beanstalk, eggshell finish), and it’s perfect. It adds a little depth while still feeling playful and cohesive.
Here are the colors I was choosing between – I always recommend grabbing some paint samples to test out in the space before deciding on a color!
We let everything sit for at least 24 hours between coats and before putting the unit back together to let the paint cure. We only needed one coat of both the primer and the paint, and used a brush for any small touch ups for the paint.
The After: A Custom-Looking Built-In for Just Over $150
And here she is—our $100 Facebook Marketplace find, completely transformed and looking like a custom built-in in the playroom!
This piece fits the wall perfectly, and the tone-on-tone green brings in just enough contrast without overpowering the room. It feels polished and playful—exactly the vibe I was going for down here.
Functionally, it’s been a total game-changer:
- The lower cabinets are great for hiding toys, games, and random kid clutter.
- The open shelves give me space to display cute books, baskets, and a few decorative pieces to keep it feeling fun but styled.
- And mounting the TV to the wall above it makes everything feel intentional and clean
I also love having all this extra storage space now—the toys feel more organized, visible, and easy to grab, which means our kids are actually playing with them more. Inside the lower cabinets, we have even more toys and extra books neatly stored and easy to access.
I love how custom and high-end it looks now, and it’s honestly hard to believe this was a $100 secondhand piece. Definitely one of my favorite flips to date!
Not Into DIY? Here Are a Few Playroom-Ready Entertainment Centers to Shop
Love the look but don’t want to tackle a DIY? I totally get it. If you’re looking for a stylish, storage-friendly entertainment center for your playroom without the paint and power tools, here are a few great options to shop that offer a similar vibe—no sanding required!
1. White Storage Credenza | 2. Beige TV Stand | 3. Blue Gray 3-Piece Media Console | 4. 6-Piece Entertainment Center | 5. Whitewash Arched Media Console | 6. Navy Entertainment Center
Shop the Look: Playroom Shelf Decor Ideas
I had so much fun decorating these shelves! I focused on keeping things functional but playful—using items we already love, like cute toys, favorite books, and a few good-looking storage baskets (they’re holding things like blocks and dominos right now).
To finish it off, I added a couple of small table lamps—I’m a big fan of lamps on shelves. The soft glow they add in the evenings is so cozy, and it makes the whole playroom feel extra warm and inviting.
Below, I’ve rounded up some fun and practical playroom shelf decor ideas if you’re feeling inspired to refresh a kid space of your own!
1. Shape Sorter | 2. Wooden Rocket Toy | 3. Speedy Go Vehicles | 4. Wooden Stacking Blocks | 5. Counting Toy | 6. Rainbow Stacker 7. Bunny Stuffed Animal | 8. Alligator Pounding Bench | 9. Wire Stackable Storage Basket | 10. Coiled Rope Basket | 11. Crate Storage Bin | 12. Woven “Toys” Basket | 13. Scallop Basket | | 14. Cute Kids Books
Thanks for following along on this little DIY adventure! I hope it inspires you to keep an eye out for secondhand gems—you never know what a little paint and creativity can do. If you’re tackling a similar project or just giving your playroom a refresh, I’d love to hear about it!
Leave a Reply