Happy Wednesday! Hope you are having a great week! Only one week till Christmas! Today I am sharing step by step instructions on how we made our Faux Wood Beams in our entryway and living room. It is one of the simplest projects we have done and it makes such a huge impact on the feel of our home. It honestly makes it look so much more custom. You will need to make sure that you measure your space and take all of my measurements with a grain of salt. Obviously, my house is not identical to yours so you may need to do things a tad differently, and that’s okay!
Getting The Supplies
You will need a couple of tools for this project. So if you don’t already have them, borrow them from a neighbor! That’s what we did for years before we got our own! We got all of our tools from Home Depot and Lowes (click on the links below if you’re interested to see which ones we have and love)! For this project you will need:
- Miter Saw
- Nail gun
- Table Saw (our exact one isn’t available anymore, but this one from Home Depot is basically the exact same as ours).
- Impact Driver (or a regular drill will work for this).
The next step is going to Home Depot (or any other home improvement store) and getting the wood and nails (and possibly stain) you need! Here is what we needed:
- 1×6 Pine Board (we needed six 8 foot long pieces to complete ours)
- 2×6 board (ours was 12 foot long)
- Finishing nails
We already had a stain at home that we love! It is from a small company called Old Barn Milk Paint and we love the color Weathered. But for this project you will need a stain you love, so you can find one at Home Depot if you don’t want to buy one online!
Building the Beam
Alright, now that you have all of the wood and tools you will need, let’s build the Faux Wood Beam! Our opening where the beam is going is a little over 12 feet wide, so we decided to build two beams and put them together. It was just too long to make one long beam (because we would have had to get 15 foot boards).
- Cut the wood down to fit your space. We needed our beams to each be 6 feet 1.5 inches long. So we used our Miter Saw to cut all of our pine boards down to that length.
- Then we trimmed what will be the bottom pine board down using our table saw so that the width was the correct size to fit our space (about 5 inches wide). However, we left the side boards the same width as they came.
- We used our nail gun to nail the side boards into the bottom board. We used about 5 nails per side.
Your beam should have 3 sides like this picture below.
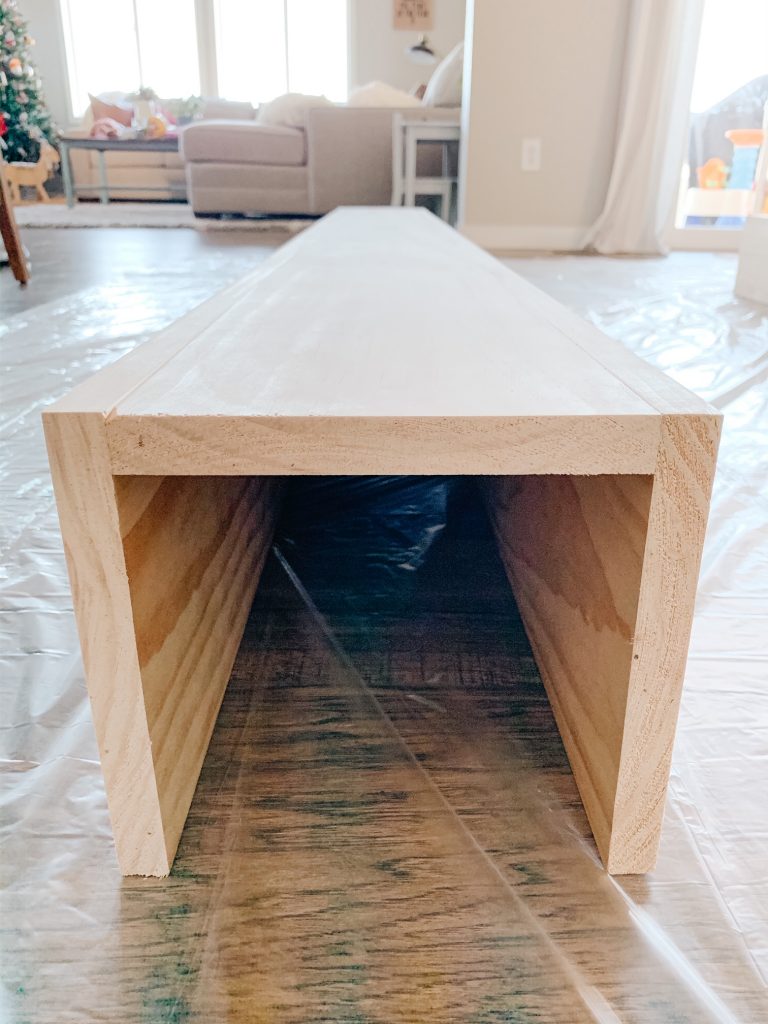
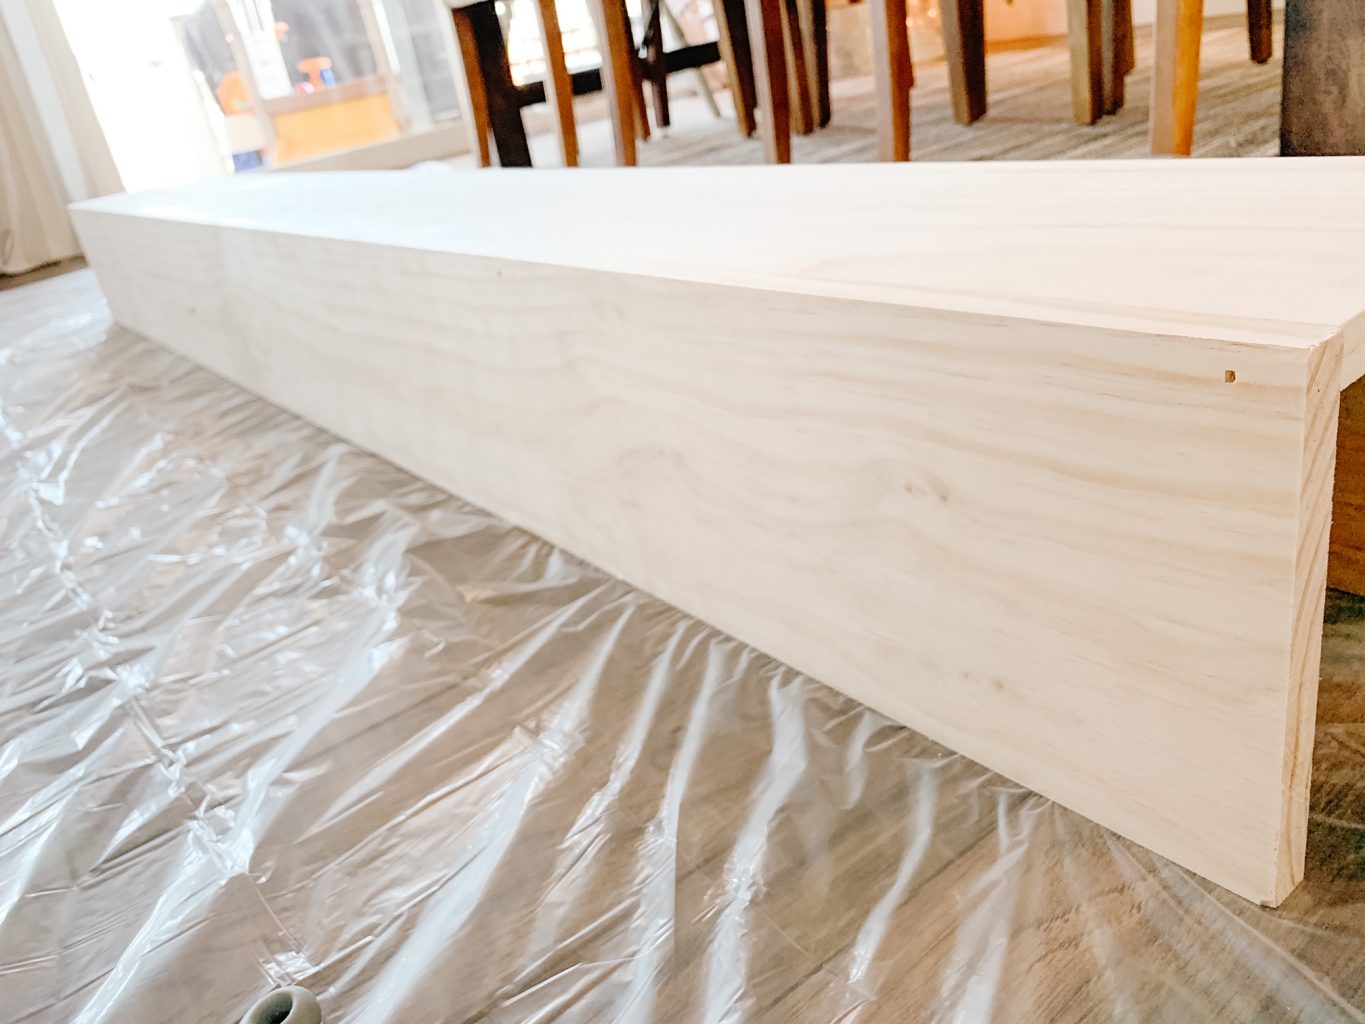
Done! The Faux Wood Beam is now built!
The last thing you need to do is stain your beams whatever color you have chosen! I love the stain we use because it’s water based and natural so we can stain indoors without there being any strong chemical smell! So I stained them indoors one night, took me about 2 hours total (I used 4 coats, but it really only needed 2-3, and I let it dry in between each coat).
Cutting and Hanging the Cleat
Okay, the next part was cutting the cleat to fit your now built beam and your space! We left ours 12 feet long which is what it came like but we had to trim it down from 6 inches wide to about 5 inches wide. What you want to do is make the cleats width the same width as the bottom board in your beam (because this is essentially the top board of your beam).
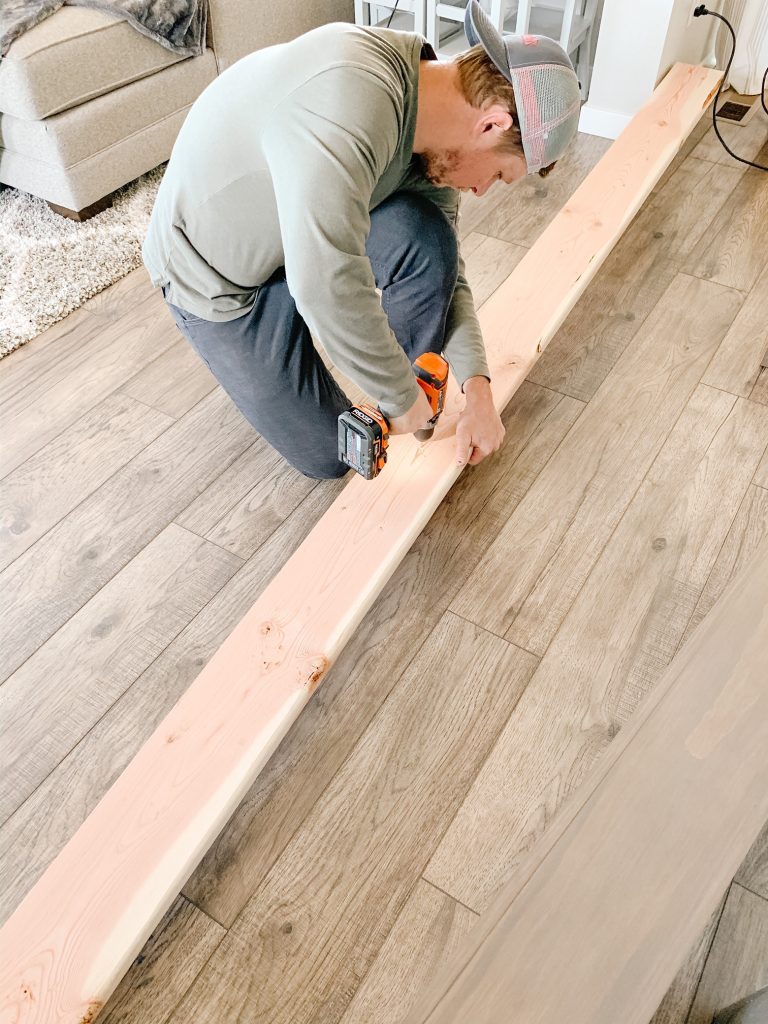
Then, you want to drill holes in your cleat before hanging it. This will prevent your cleat from cracking when you go to screw it into your ceiling. My husband put 6 screws in the cleat to hold it up. You want to make sure you are screwing into a stud or using heavy duty anchors. We had a stud there so we didn’t have any issues. We needed to call for reinforcements because I am too weak to hold up a 12 foot cleat, so our friends came over to help hang the cleat and beam! Once your cleat is hung you are ready to hang your beam.

Hanging the Faux Wood Beam
You hang your beam by putting it around your cleat (like the picture shows below). Then you nail the beam into the cleat. We used about 5 nails per side of each beam (remember we had to do two beams side by side so that is really about 10 nails on each side all the way across). You can add as many nails as you see fit, but 5 nails per side for a 6 foot beam was good for us!
We still have to fill the seam (where the two beams meet) with stainable wood filler. But is it basically done and I am thrilled with how it turned out!
The End Result
So there you have it! The finished Faux Wood Beams! I love that you can see both of the beams from most rooms on our main floor!
We did come across a tiny hiccup (which we do with almost every project). We didn’t measure exactly right. So when we went to put up the second beam next to the first it wouldn’t fit. But it was an easy fix because we just trimmed part of it off with the saw, and sanded it down a bit. So it all ended up working out in the end and I absolutely love the end result!
Let me know if you have any questions on how to build a Faux Wood Beam by commenting here or on our Instagram page! I’ll be happy to answer any questions or go into more detail if needed!
Hope you have a wonderful rest of your week!
See our Disclosure here.
Hi Kaylee, love your faux wood beam, I’m working on mine after yours inspired me! On an unrelated note, do you remember the name of the paint on your walls from the faux wood beam post? It kind of looks like a sand color but could also have some gray. I knows it’s been awhile, but thank you!
Hi! Yes, it is Repose gray by Sherwin Williams! I am so happy that my post inspired you! They will look great!!
Hi. We are in the process of finishing our beam but I can’t decide on what color of stain to use. What did you use?
Hello there. Could you please share the stain color that you have used.
I am working on some beams in my house and am unable to decide the stain color.