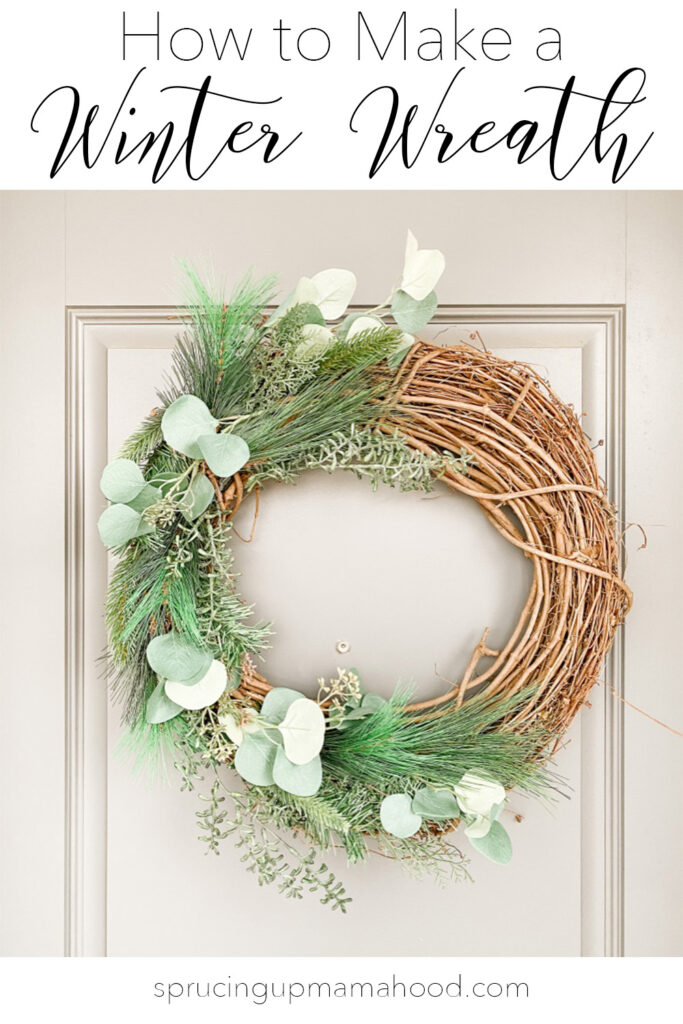
With Christmas coming and going so quickly, today I am sharing a How to Make a Winter Wreath that can easily transition you through the months after Christmas and into Spring!
These wreaths are SO easy to make, I have started to make one for each season! They are easy to customize to your liking and are very affordable. Keep reading for some details on how I made mine!

This post is all about how to make a winter wreath!
WINTER WREATH MATERIALS:
The materials for this project can really vary based on what season it is, and what your style is, which is why I love this project!
For this Winter Wreath, I wanted to make something that could transition from the Christmas season and last through Winter and even into the beginning of Spring. I mainly stuck with winter greenery, like pine branches, and then added pops of eucalyptus to make it feel more transitional and not to Christmas-y. A varying amount of texture is key to making this wreath stand out, so try to grab a few different types of greenery and floral stems to use.
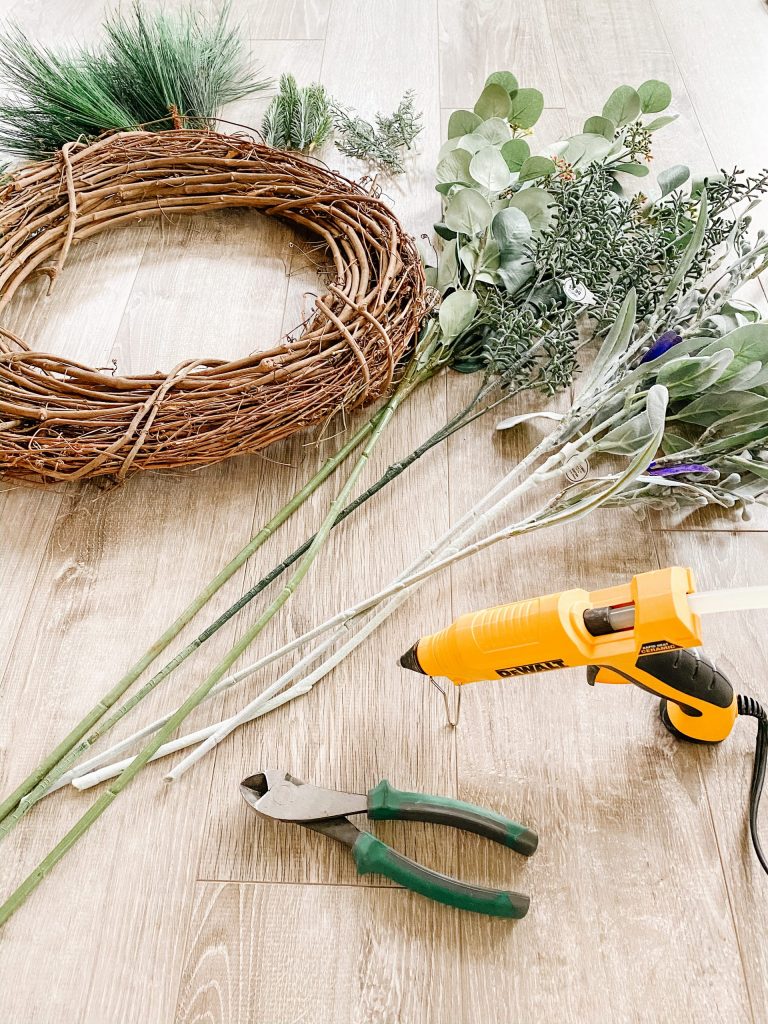
Materials used:
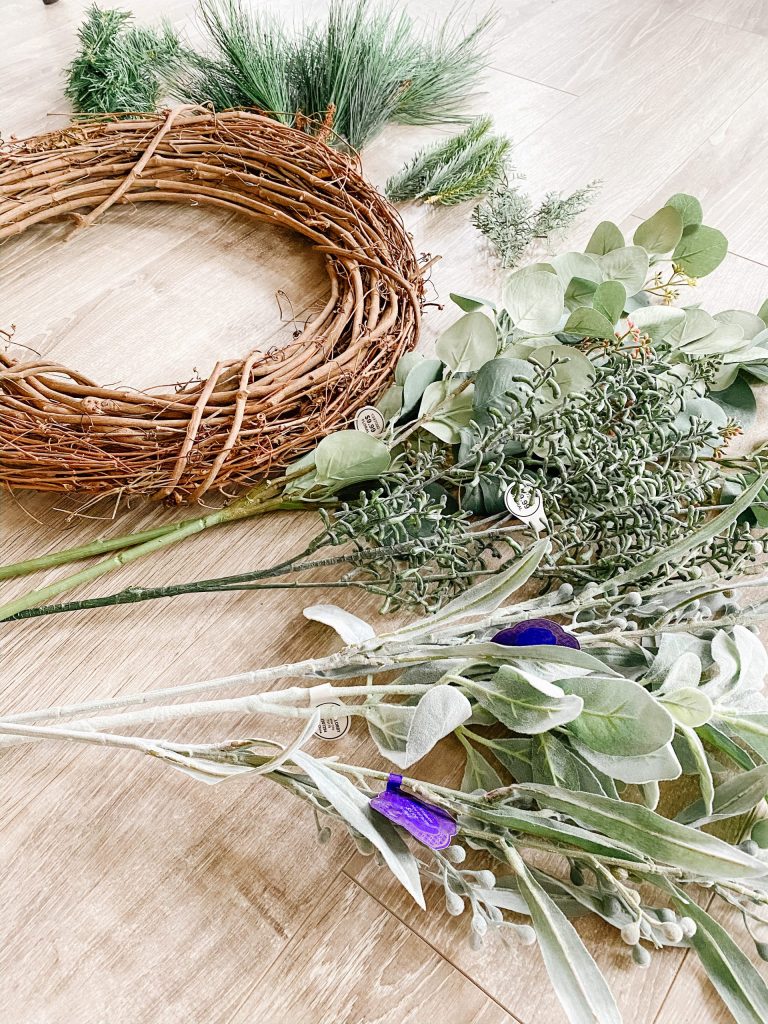
2-4 Faux Greenery or Floral Stems (Check out Hobby Lobby or Michaels)
Assorted Holiday Greenery Stems (these were left over from my Holiday decor!)
HOW TO MAKE A WINTER WREATH:

1. Ok get ready…this is super easy! First I clip the individual branches off of the large stems.
Then I lay the branches on top of the grapevine wreath to get a general idea of what I want to use and where.
I always clip the branches off of the stems as I go here, because I rarely use all of the stems that I buy. So make sure you don’t cut everything up first because you might be able to return some of it! I always over-buy to make sure that I have enough once I am home.

2. Then I move the branches to the side, keeping them in the same layout.

3. Next I start adding the stems to the grapevine wreath.
If the stems are long enough I stick the ends through the grapevine branches a little to hold them in. Then I add some hot glue to make sure they stay.


4. Ta-Da! Thats IT!

This project is so easy and I love how you are able to customize it!
It is much less expensive than buying a similar wreath at the store, and I rarely find one that I like there as much either! In total I spent about $18 on this wreath! I purchased most of the items at Hobby Lobby and they always have 50% off sales!
I love how you can add as much or as little to this wreath as you’d like. Some people only fill in about a 1/4 of the wreath, and some people like it completely full.
This only took me about 45 minutes to complete (would have been quicker if I wasn’t taking photos) and is a fun DIY project to tackle!
Once Spring is here, check out this super easy Spring Wreath that I also made!
Let me know if you have any questions in the comments below or on our Instagram or Facebook pages! And make sure to tag us @sprucingupmamahood if you make one of these wreaths for yourself!


Love it Rachel! I plan on making one this week!
Thank you! Let us know how it turns out!