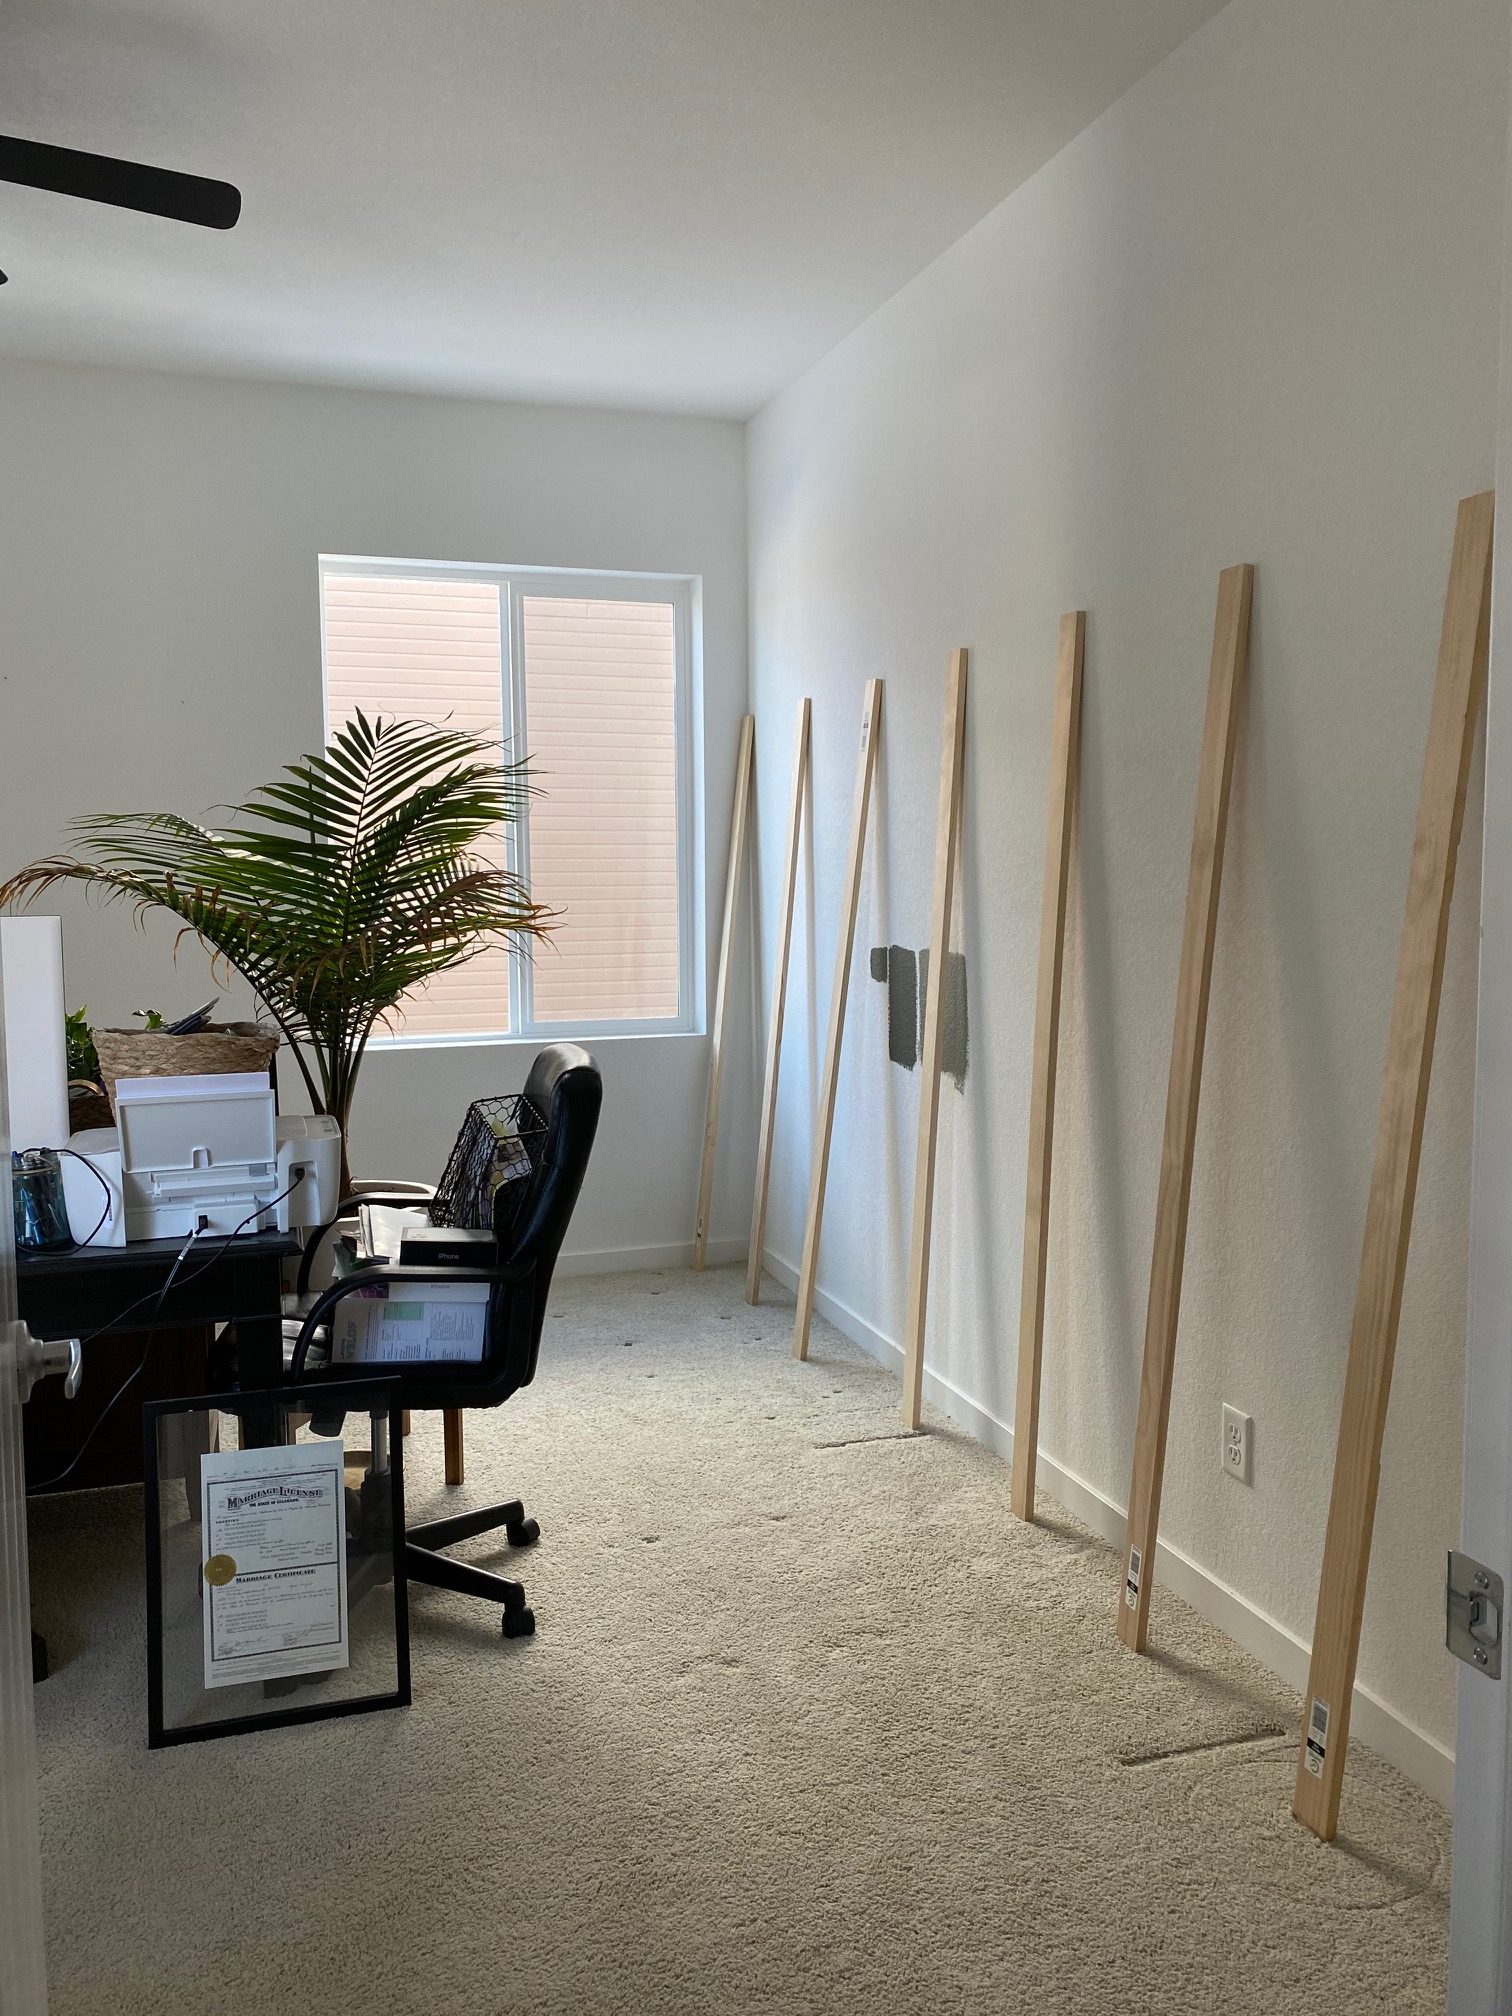
I am so excited to finally share with y’all the simple Board and Batten that we installed in our office! Our office is far from finished but we got step one done. I couldn’t be more thrilled with how it turned out! From the color we chose to the texture the board and batten brings to the room, I love every part of it!
We moved into this house almost two years ago and we still have so many rooms to complete. Right now, the main focus is the office. Mainly because now that I am working from home (on this blog and growing our Sprucing Up Mamahood brand/business) I absolutely need a place where I can work.

My goal with the office is to create a warm and cozy environment, while also making it into a room that brings us energy to get work done! Plus, it needs to be a space that both my husband and I love! We are planning on creating this room to have two sections, mine and my husbands. We want to get matching desks, one for each side of the room. As well as better storage solutions. My husband also works from home 1-2 days a week so he needs a space where he can work as well! So the office needs to fit both of our needs and styles.
We have a long way to go before it’s complete. But for now, I will be going through the very simple step by step process we did when creating this board and batten wall. This is by far the easiest DIY we have done in this house. It is slightly time consuming, but we finished it in one weekend and we only worked on it for a few hours each day. So honestly, we think we could have finished it in one day. Plus we wrapped the board and batten around the entire office, and it is not a small room. So if you are only doing one wall, it’s easily a one day project!

Tools and Supplies You Will Need:
- Miter Saw
- Nail Gun
- 1×3 Pine wood boards (you’ll have to measure your room to see how many you need and the exact size, we used 6 foot 1×3’s)
- Caulk and Caulking Gun
- Spackle
- Sandpaper
- Paint (we used Muted Sage by Behr)
- Tape Measure
- Paint roller
- Blue tape
- Paint Brush
Step By Step Instructions:
I will start by saying we did the simplest version of board and batten there is! So the steps are very simple and most of the steps are just tedious work, like painting! There are a ton of ways to do board and batten and there is not one that is “correct”. Just do whatever you feel like works best for you. We wanted something super simple so this is the way we chose!
1. Figure out how high up you want the board and batten to go and draw a line on the wall. We decided on about 2/3rds of the wall so we measured it out and drew a line about 6 feet up.
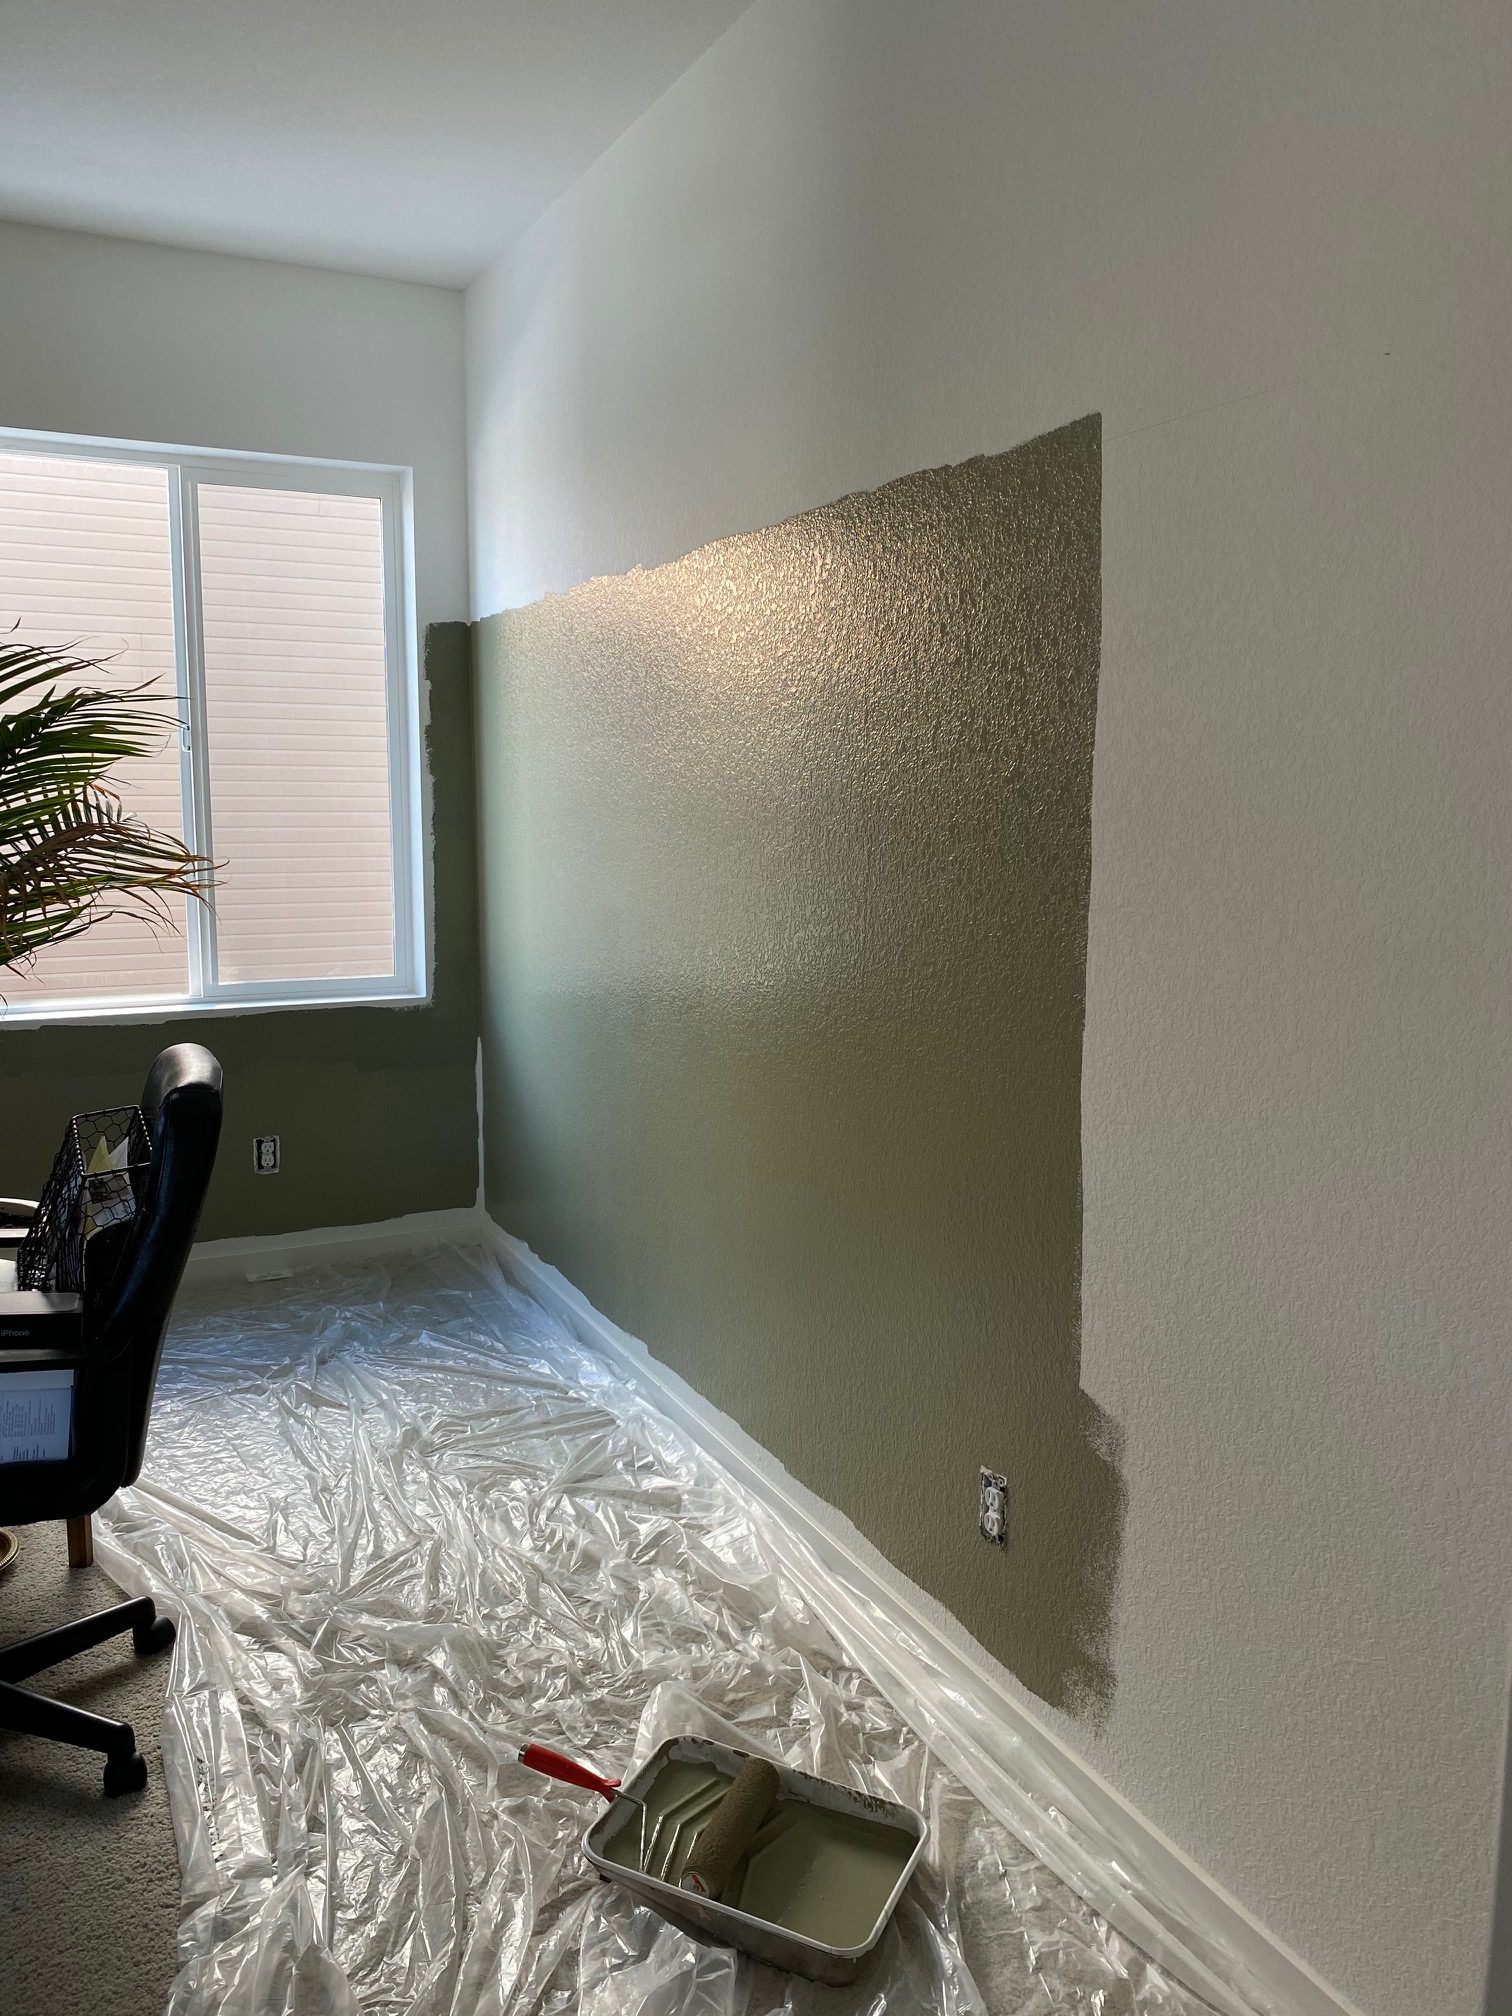
2. Once you have the line drawn, you are going to paint the wall up until where the line is.

3. Once the wall is painted to the line, let it dry. Then, you can start hanging the wood. We used 1×3’s for both the vertical and the horizontal pieces.
4. We installed horizontal 1×3’s along the bottom (right above the baseboards) using a nail gun. We only used about 3 nails per board and we didn’t worry about them getting into studs.

5. Then we installed vertical 1×3’s, 18 inches apart and we started in the middle of the wall and worked our way out (we did this on all 4 walls, started with finding the middle and put our first board there). That way the board and batten looks centered on the wall. Again, we only used about 3 nails per vertical board.

6. We finished with horizontal 1×3’s along the top to create a border.

7. Once all the wood is up and nailed into place we caulked around every single piece of wood.

8. Then we went around and filled in the nail holes with spackle. I also spackled any other areas that had gaps or looked like they needed filled. Once the spackle dried we sanded it so it was smooth with the wood.


9. Then we taped off the bottom and top and painted all the boards to match the wall. We also touched up the paint on the wall incase there were spots we missed.

10. Admire your work! Haha! But really, that is it! Super simple and makes such a huge impact on the room!


You will notice that we are also putting in window casings around the windows, we have yet to finish that part of the project but that’s definitely our next step in this office! This is the same method we used when we made our window casings in our living room, you can read all about how we made those here!

We absolutely love doing DIY projects! In fact, while we were doing this project my husband said that he wishes he could make this his full time job. We love seeing our hard work paying off! And we really enjoy doing these projects together. We are excited to get the office completely finished, but for now we are so happy to have the board and batten done! How do you think it turned out? Let us know in the comments below!

See our Disclosure here.
What color is the paint? It’s wonderful!
The paint color is Behr Muted Sage!
Did you prime the wall or wood pieces before you painted the sage color?
Hi Andrea! No, we did not prime the wall or the wood before painting! The wall was already white though!
Is the bottom sash flush with your existing baseboards or does it hang over?
My baseboards are tiny at the top (1/8″) and I don’t know what to do!
Hi! Sorry for not responding sooner! They do hang over a bit! If you message me on Instagram I can send you an up close picture of what mine looks like!
We used quarter round on top of our molding. We turned it so the the flat part would be on top. Our MDF batten boards fit on top of it perfectly.
Love this! What color are your other walls? Where did you get the fern-like wallpaper in the other room? Thanks!
Thank you for sharing an up-close picture of your sparkling!! No one ever shows this! It’s honestly helpful. Great job.
Thank you!
Did you use caulk or wood filler between the top board and vertical boards (the 3” line where the vertical boards meet the top horizontal board)?? Thanks
we used wood filler/spackling at that seem.