Happy Monday friends! I know a lot of us are feeling like we are having a really long weekend since the majority of our kids won’t be going back to school for a few weeks. I hope you are enjoying the family time and finding fun activities to do with your kids! I know that we have been and will continue to be outside as much as possible! Going on walks, riding bikes and scooters and completing DIY home projects. Thank goodness for warm weather!
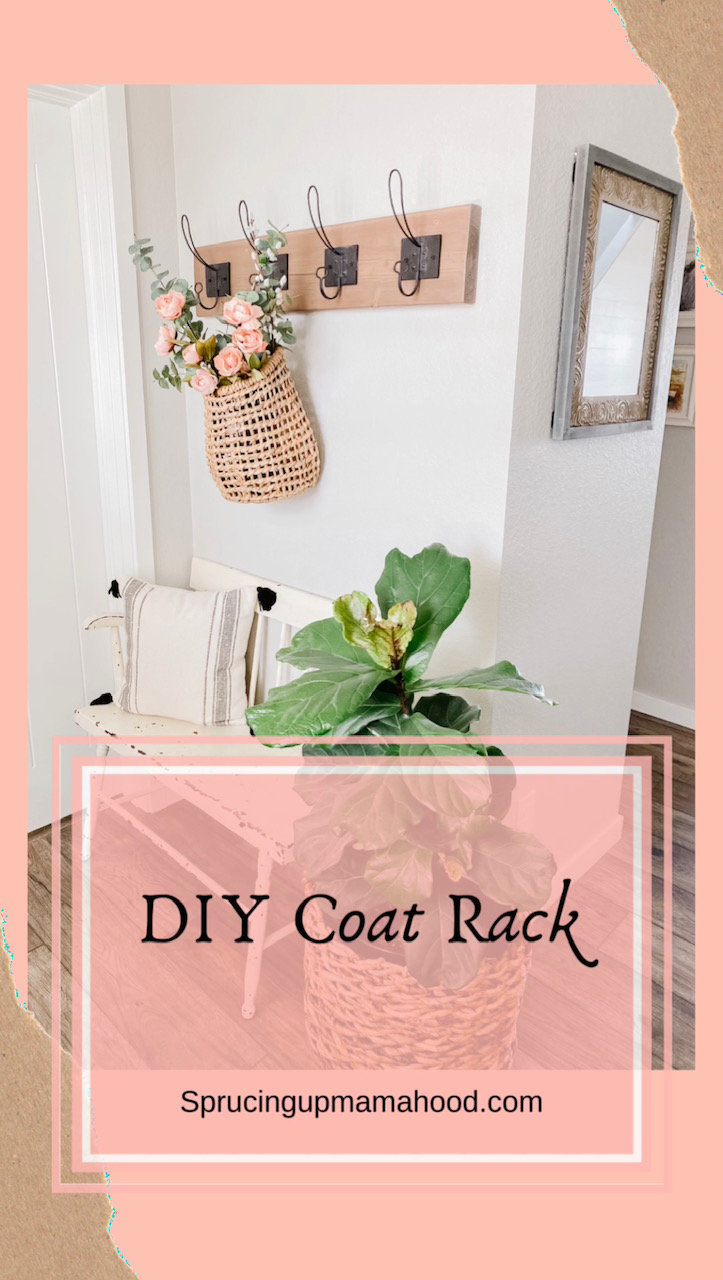
One of the easiest DIY projects we have ever done was our DIY Coat Rack that we have in our entryway (and our mudroom). Coat racks can be expensive when bought from a store and they are usually pretty flimsy! So this is why we decided to make our own.
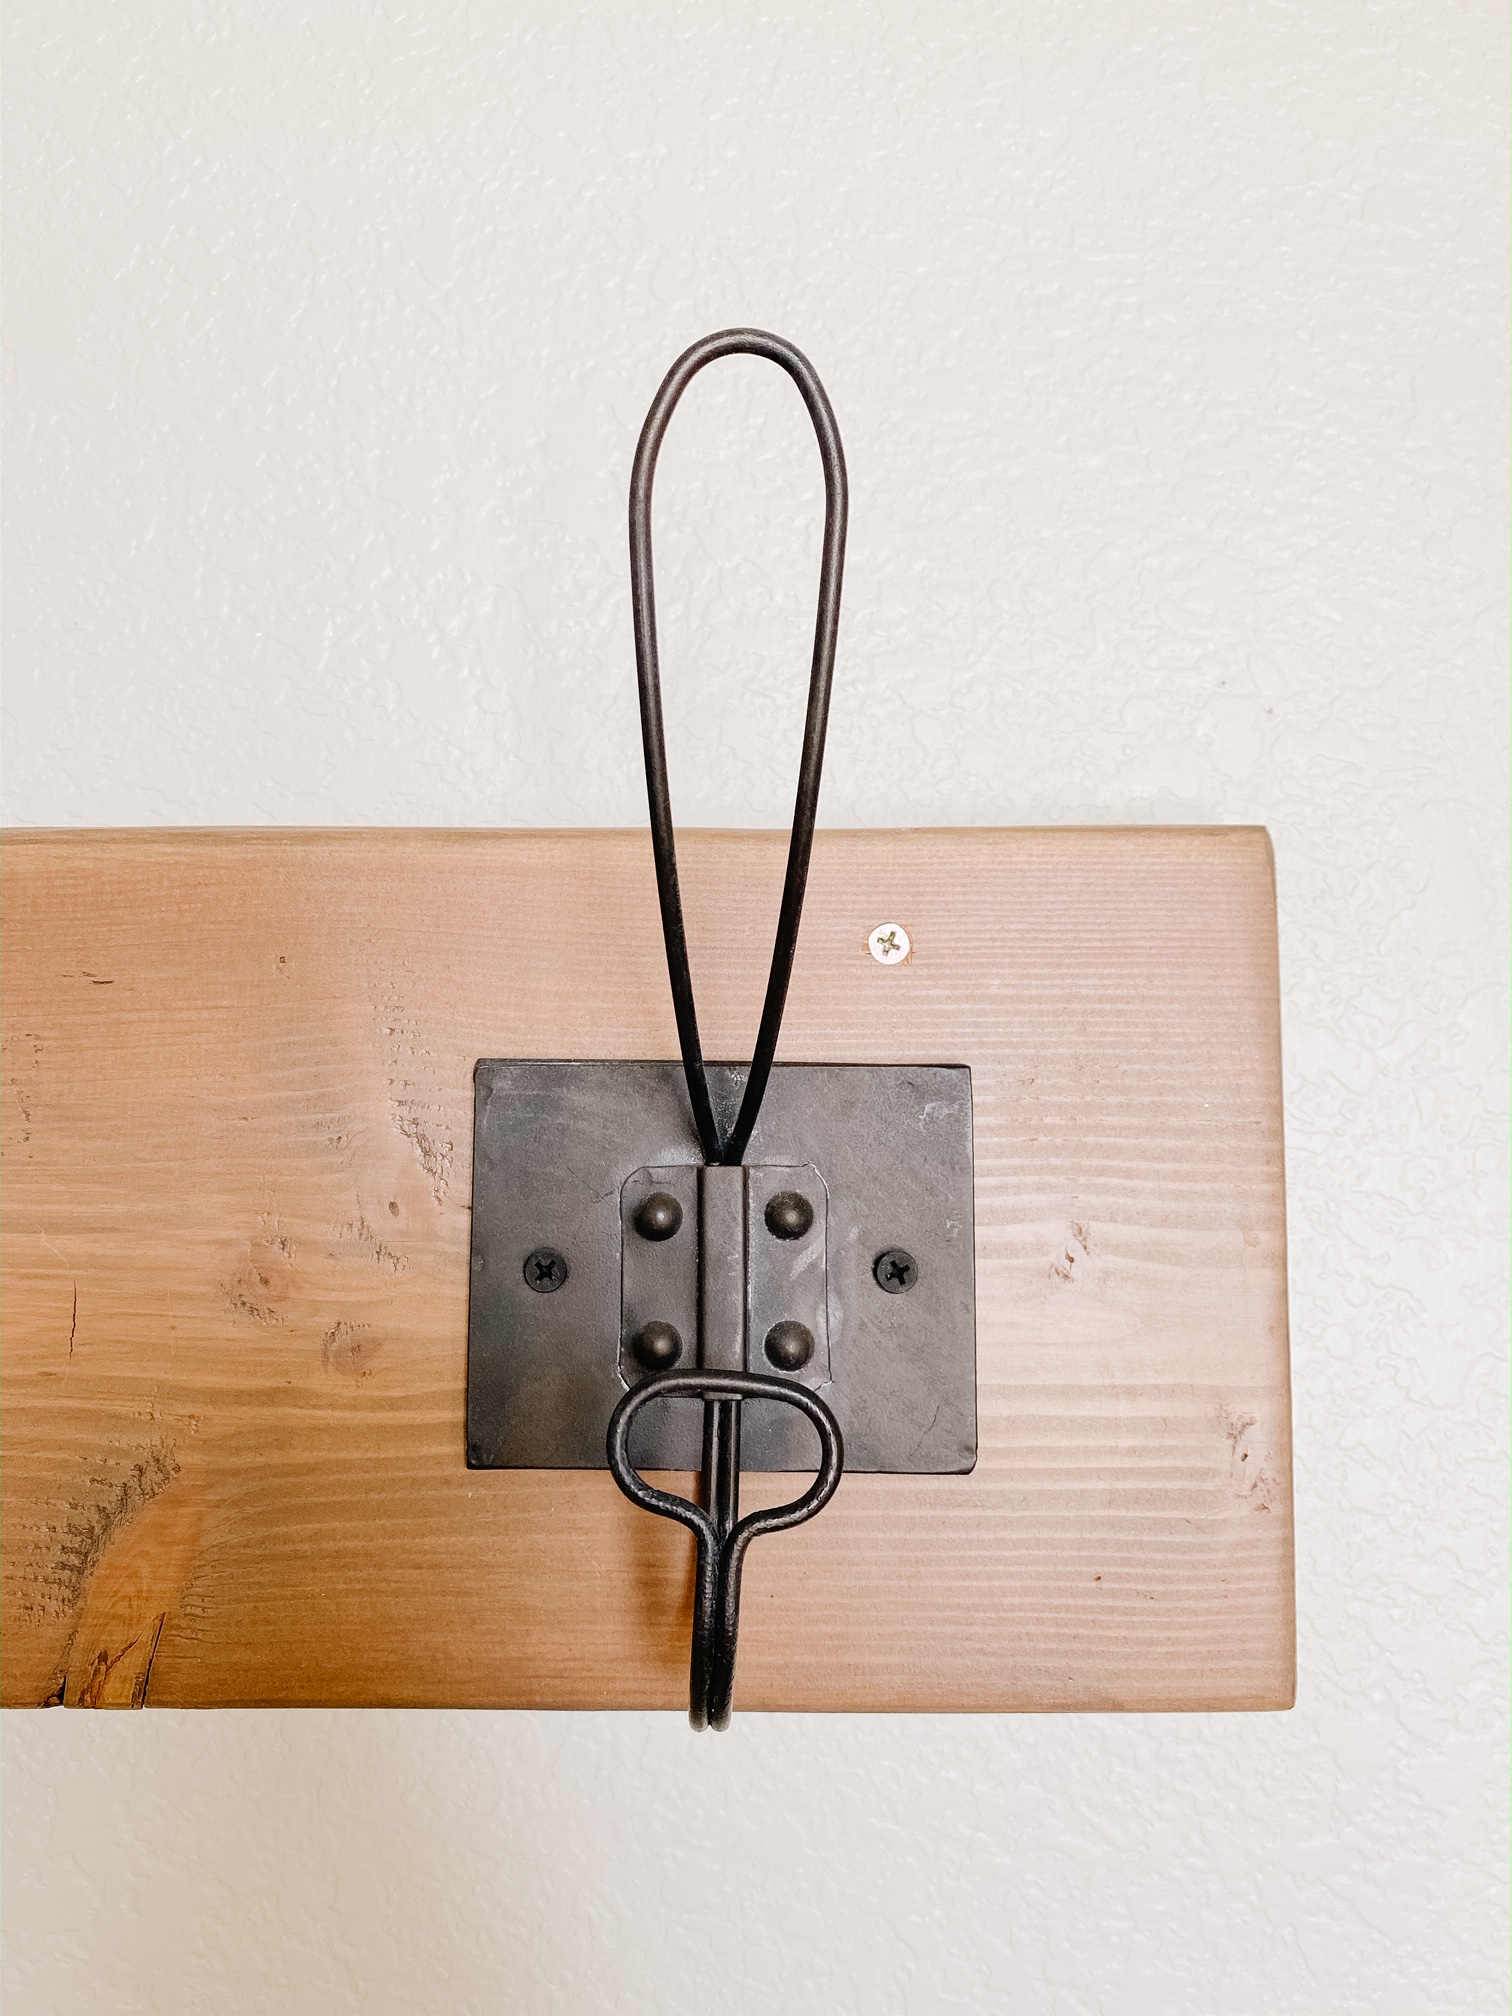
By making your own you can also customize it to fit your house design! There are so many different types of hooks as well as different colors of stains! We got our oversized hooks from Hobby Lobby and I love them. They are so sturdy and the black metal is perfect in our entryway.
These coat racks were some of the first DIY projects we did. When you are a beginner DIYer most people want to start small. And this is the perfect project for that! Since making these coat racks our DIY skills have improved drastically. However, it is so fun to look back at these and see how far we have come!
Materials:
- One 2×8 (the length will depend on how long you need to fit your space, we only needed ours 3 feet long)
- Hooks (You will need a different number based on the length of your board, we used 4. Our hooks are these ones from Hobby Lobby)
- Screws (3 inch)
- Stain (We used Weathered by Old Barn Milk Paint)
- Miter Saw
- Drill
- Sander
- Sandpaper
- Brush
Instructions:
- Cut your board down to the length you need (ours was 3 feet long).
- Sand down the board.
- Stain the board.
- Attach the hooks to the board with the screws that came with the hooks (we spaced our hooks 9 inches apart).
- Drill holes in the board slightly smaller than your screws to ensure the board doesn’t split.
- Screw the Coat Rack into the wall studs with the 3 inch screws.
- Optional: cover screws with putty and stain the putty to match the board (we did not do this step).

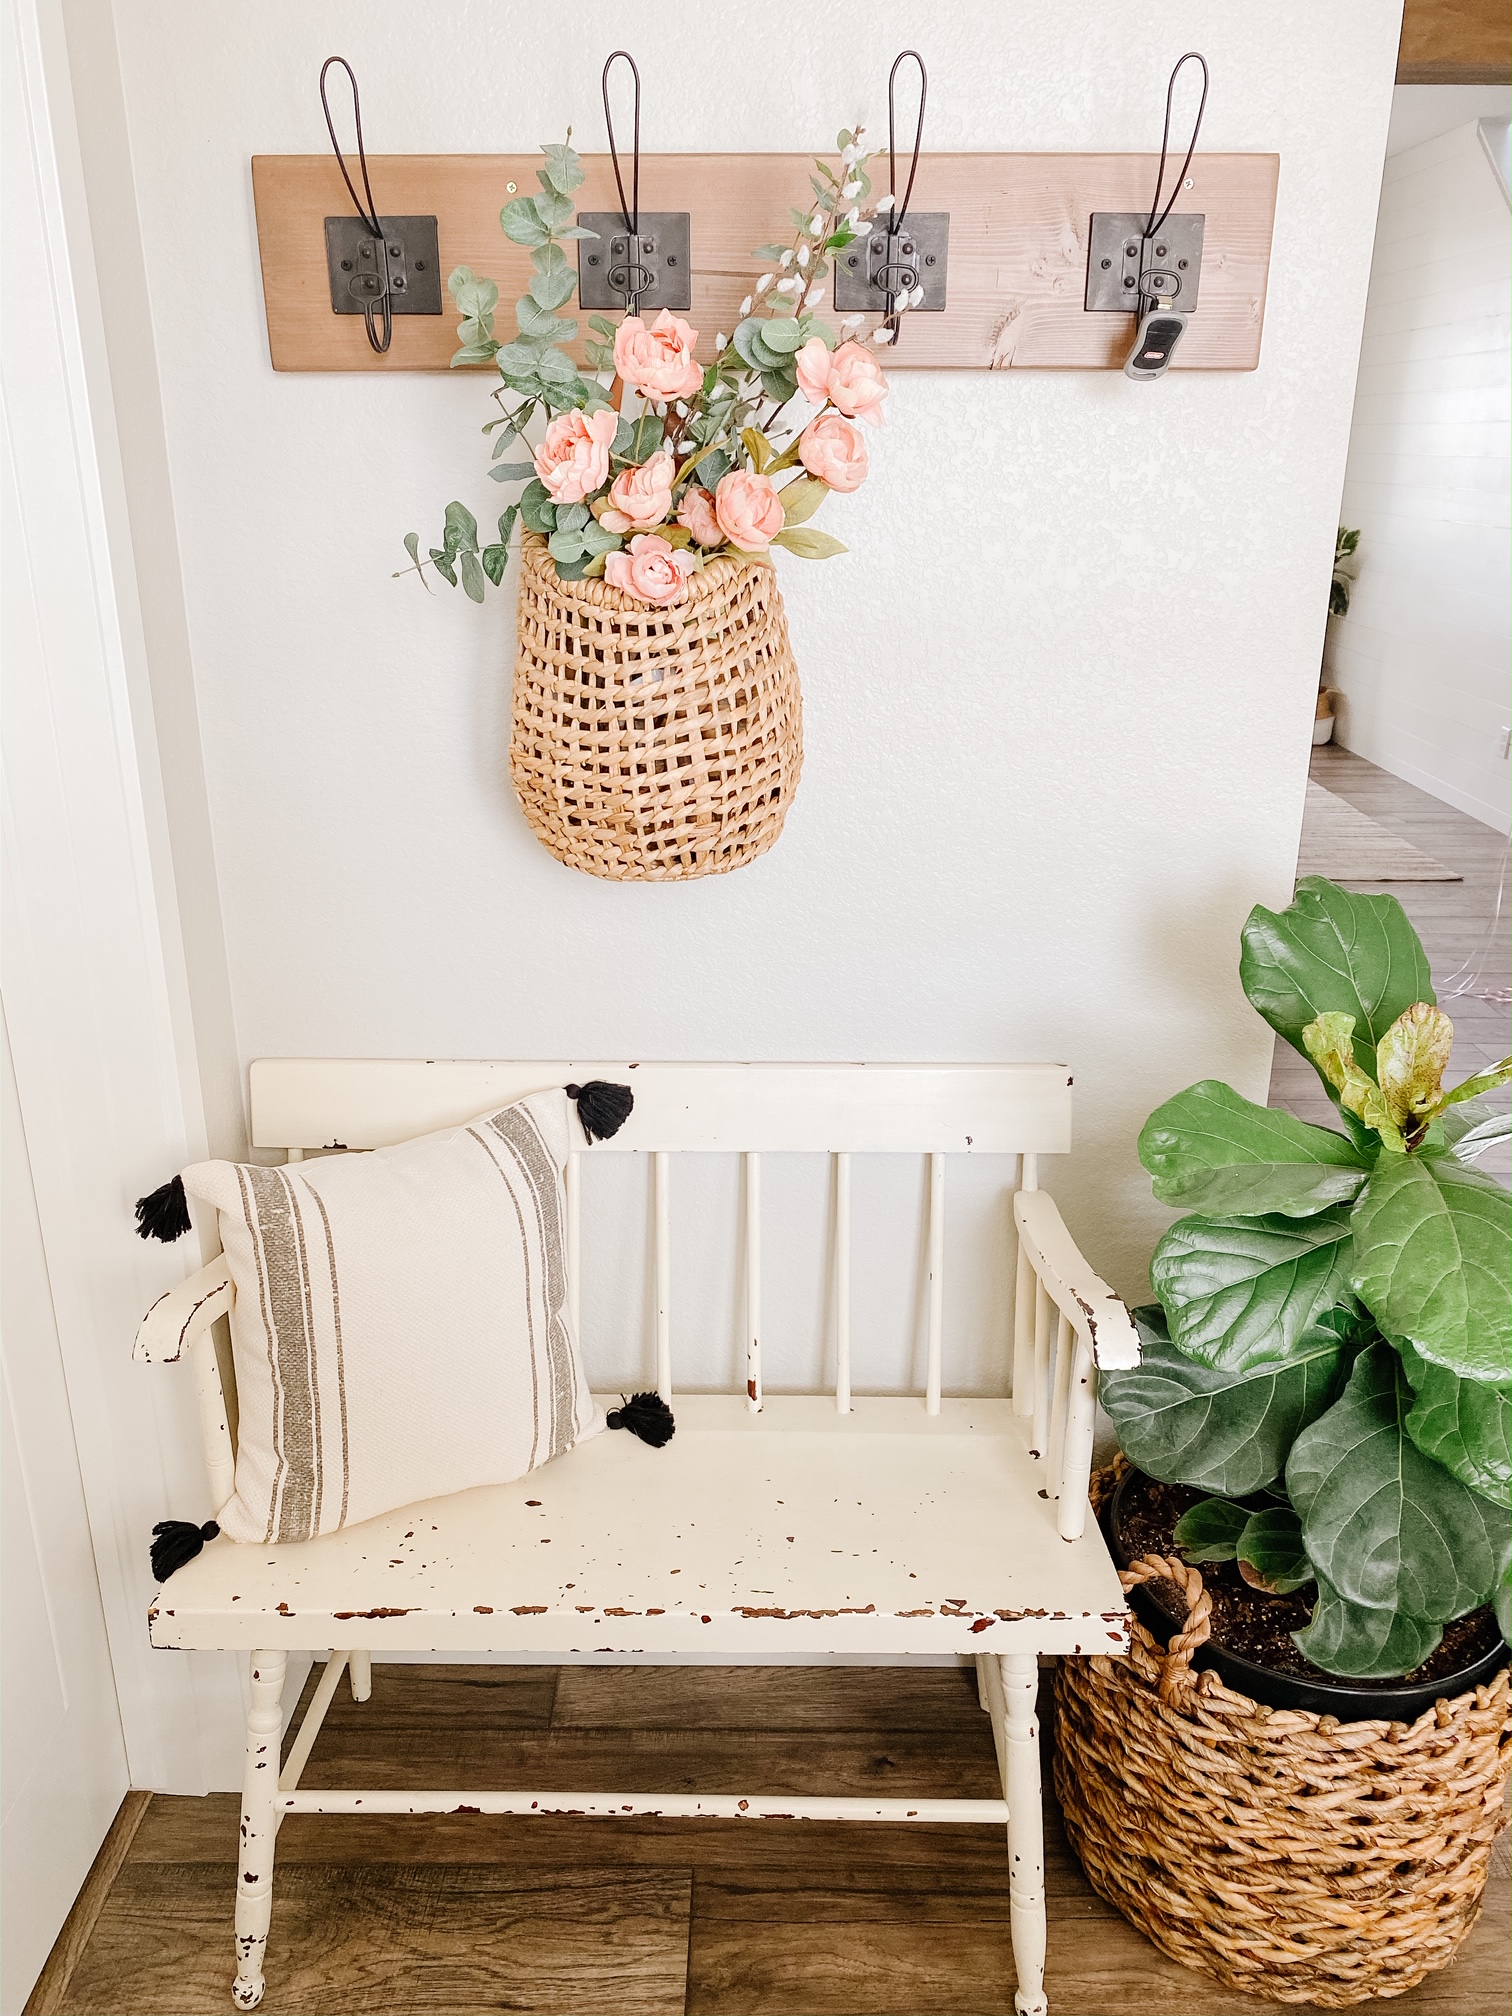
I love the warmth that the wood brings to both our entryway and mudroom. This DIY Coat Rack is so easy but definitely one of my favorite simple DIY’s! Last week Rachel wrote about her simple DIY blanket ladder. So if you want to see more of our DIY’s definitely check out her post too! Have a great rest of your week! Enjoy all the time spent with your loved ones!
See our Disclosure here.
Love the hardware you used! such a simple but bold statement piece. Love it!
Thank you so much!
Where did you get or find that bench at?? It’s super cute!
Thanks, It’s an antique!