This weekend I re-styled my shelves for Spring, and wanted to share some tips with you all! Styling shelves can be intimidating but it doesn’t have to be! Keep reading to find out my Top 5 Tips for How to Decorate Open Shelves!
This post is all about how to decorate open shelves!
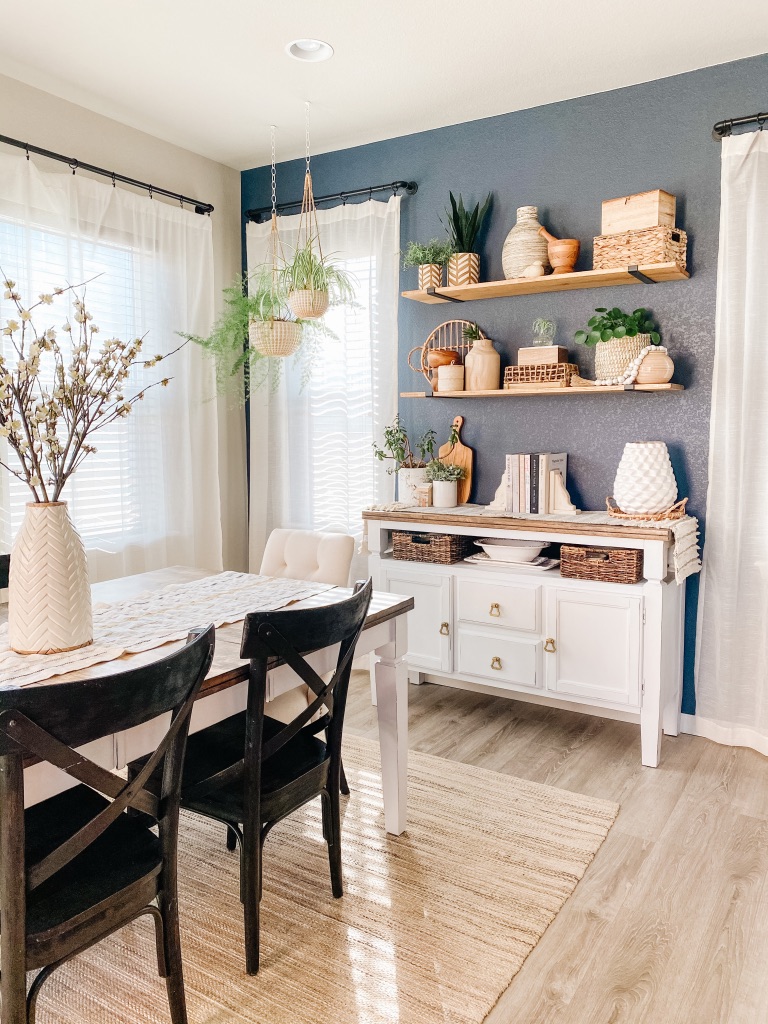
HOW TO DECORATE OPEN SHELVES:
1. Clean Everything Off
Even if you are planning to use some of the same items, clear everything off your shelves before you begin.
It’s always best to start with a blank slate so you can bring new inspiration to the space! And it’s the perfect opportunity to dust everything off!
2. Organize Your Items
Lay out everything you might want to use on the shelves. Before I begin, I always walk around my house and “shop” for new items to use. I always grab way more than I will actually end up using, but I like to see all of my options in front of me while I am working.
Group your items together by size, type and color scheme. For example, I group all of my plants (real and faux) together, all of my large vases, small items, books, etc., together.
Make sure you have a good variety of items to pick from – different scales, colors, shapes and textures.
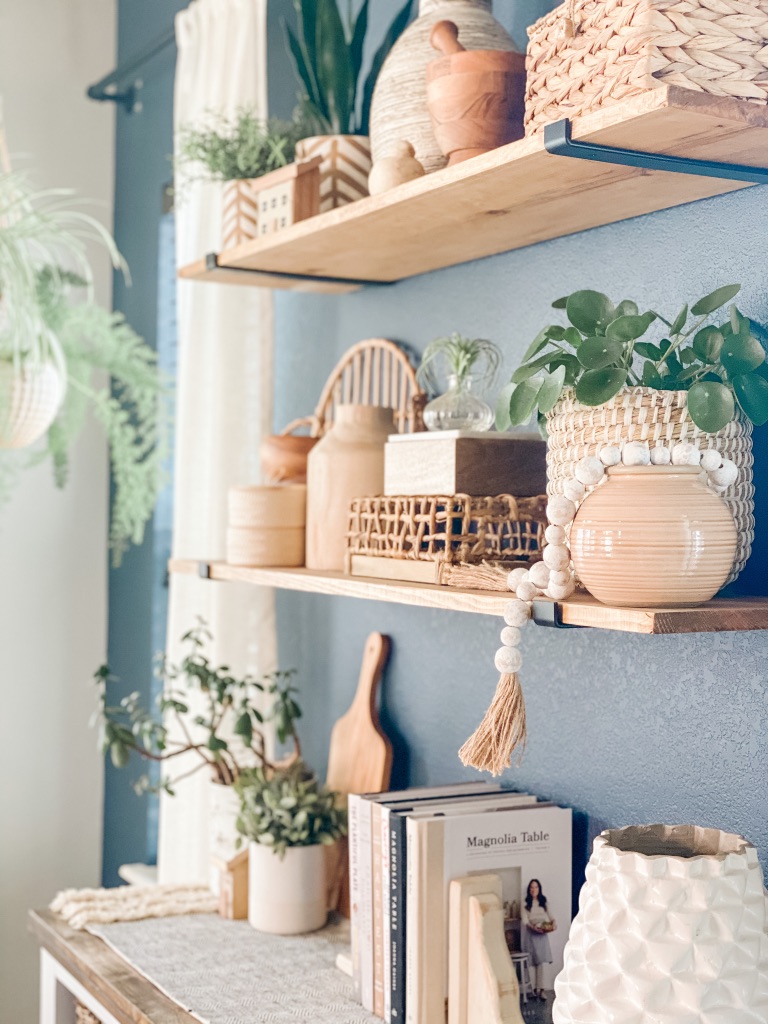
3. Layers!!
I always find a spot for the largest items first, and build from there. Make sure you place the large items in a balanced way. For example, place one large item on the top left shelf, and another on the bottom right.
You don’t want all of your heavy items to be grouped together. You want your eye to travel through the items and spreading out the larger pieces will help the whole look come together and feel balanced.
This idea also goes for smaller items and varying textures and shapes. Spread out your greenery, your vases, your boxes, etc. Work in layers by adding items to the back, leaning against the wall, as well.
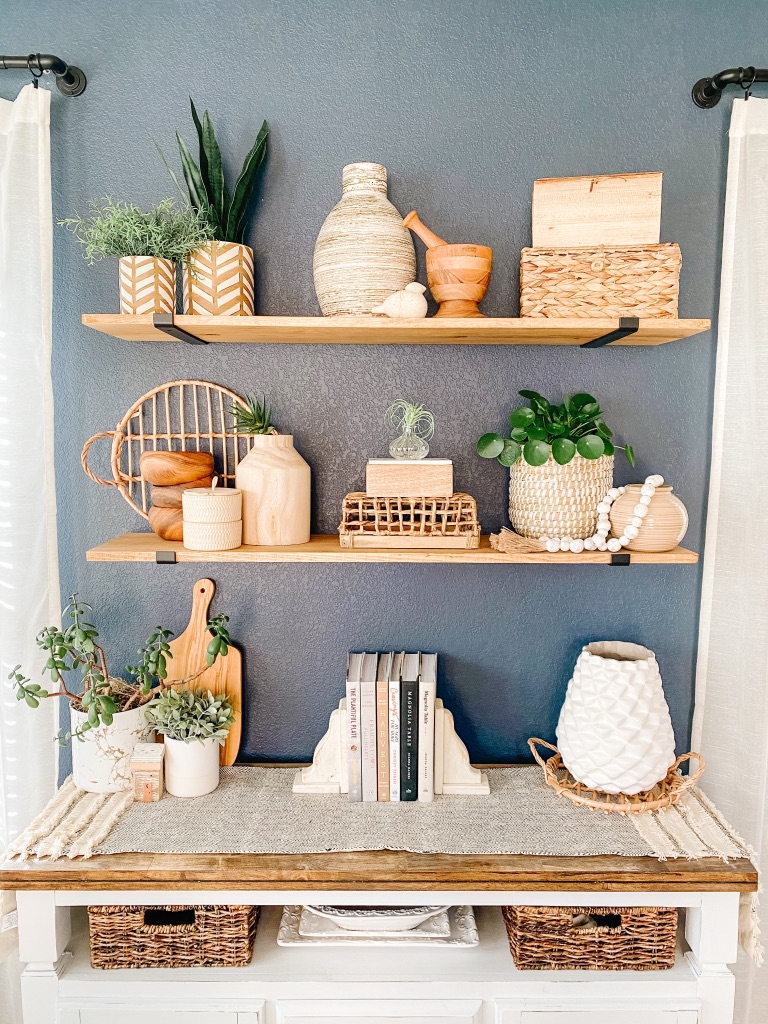
4. Work in Groups of Three
Groupings of three feel balanced and pleasing to the eye, especially in smaller spaces, such as shelves and table tops. For my shelves, I worked in grouping of three, with three groups on each shelf.
By grouping the items together it feels more organized and less overwhelming.
It is also important to leave areas of negative space between the groupings. Negative space allows the eye to rest and helps the shelves to not feel cluttered.

5. Step Back and Adjust
It usually takes me a couple of times to get things how I like them! Take a step back to see how it all looks together and move items around that feel out of place.
Look for varying heights, textures, and shapes and make sure items that are similar to each other are spread out.
We built these shelves a few months ago and I love how they turned out! There were such an easy and inexpensive DIY project that anyone can tackle! For more info on how we built these shelves check out THIS blog post!
See our Disclosure here.
Hi! This is beautiful. I love the pain color & texture of the wall behind the shelves. Do you know what it is?
Hi, thank you!! The paint color is Benjamin Moore Hale Navy