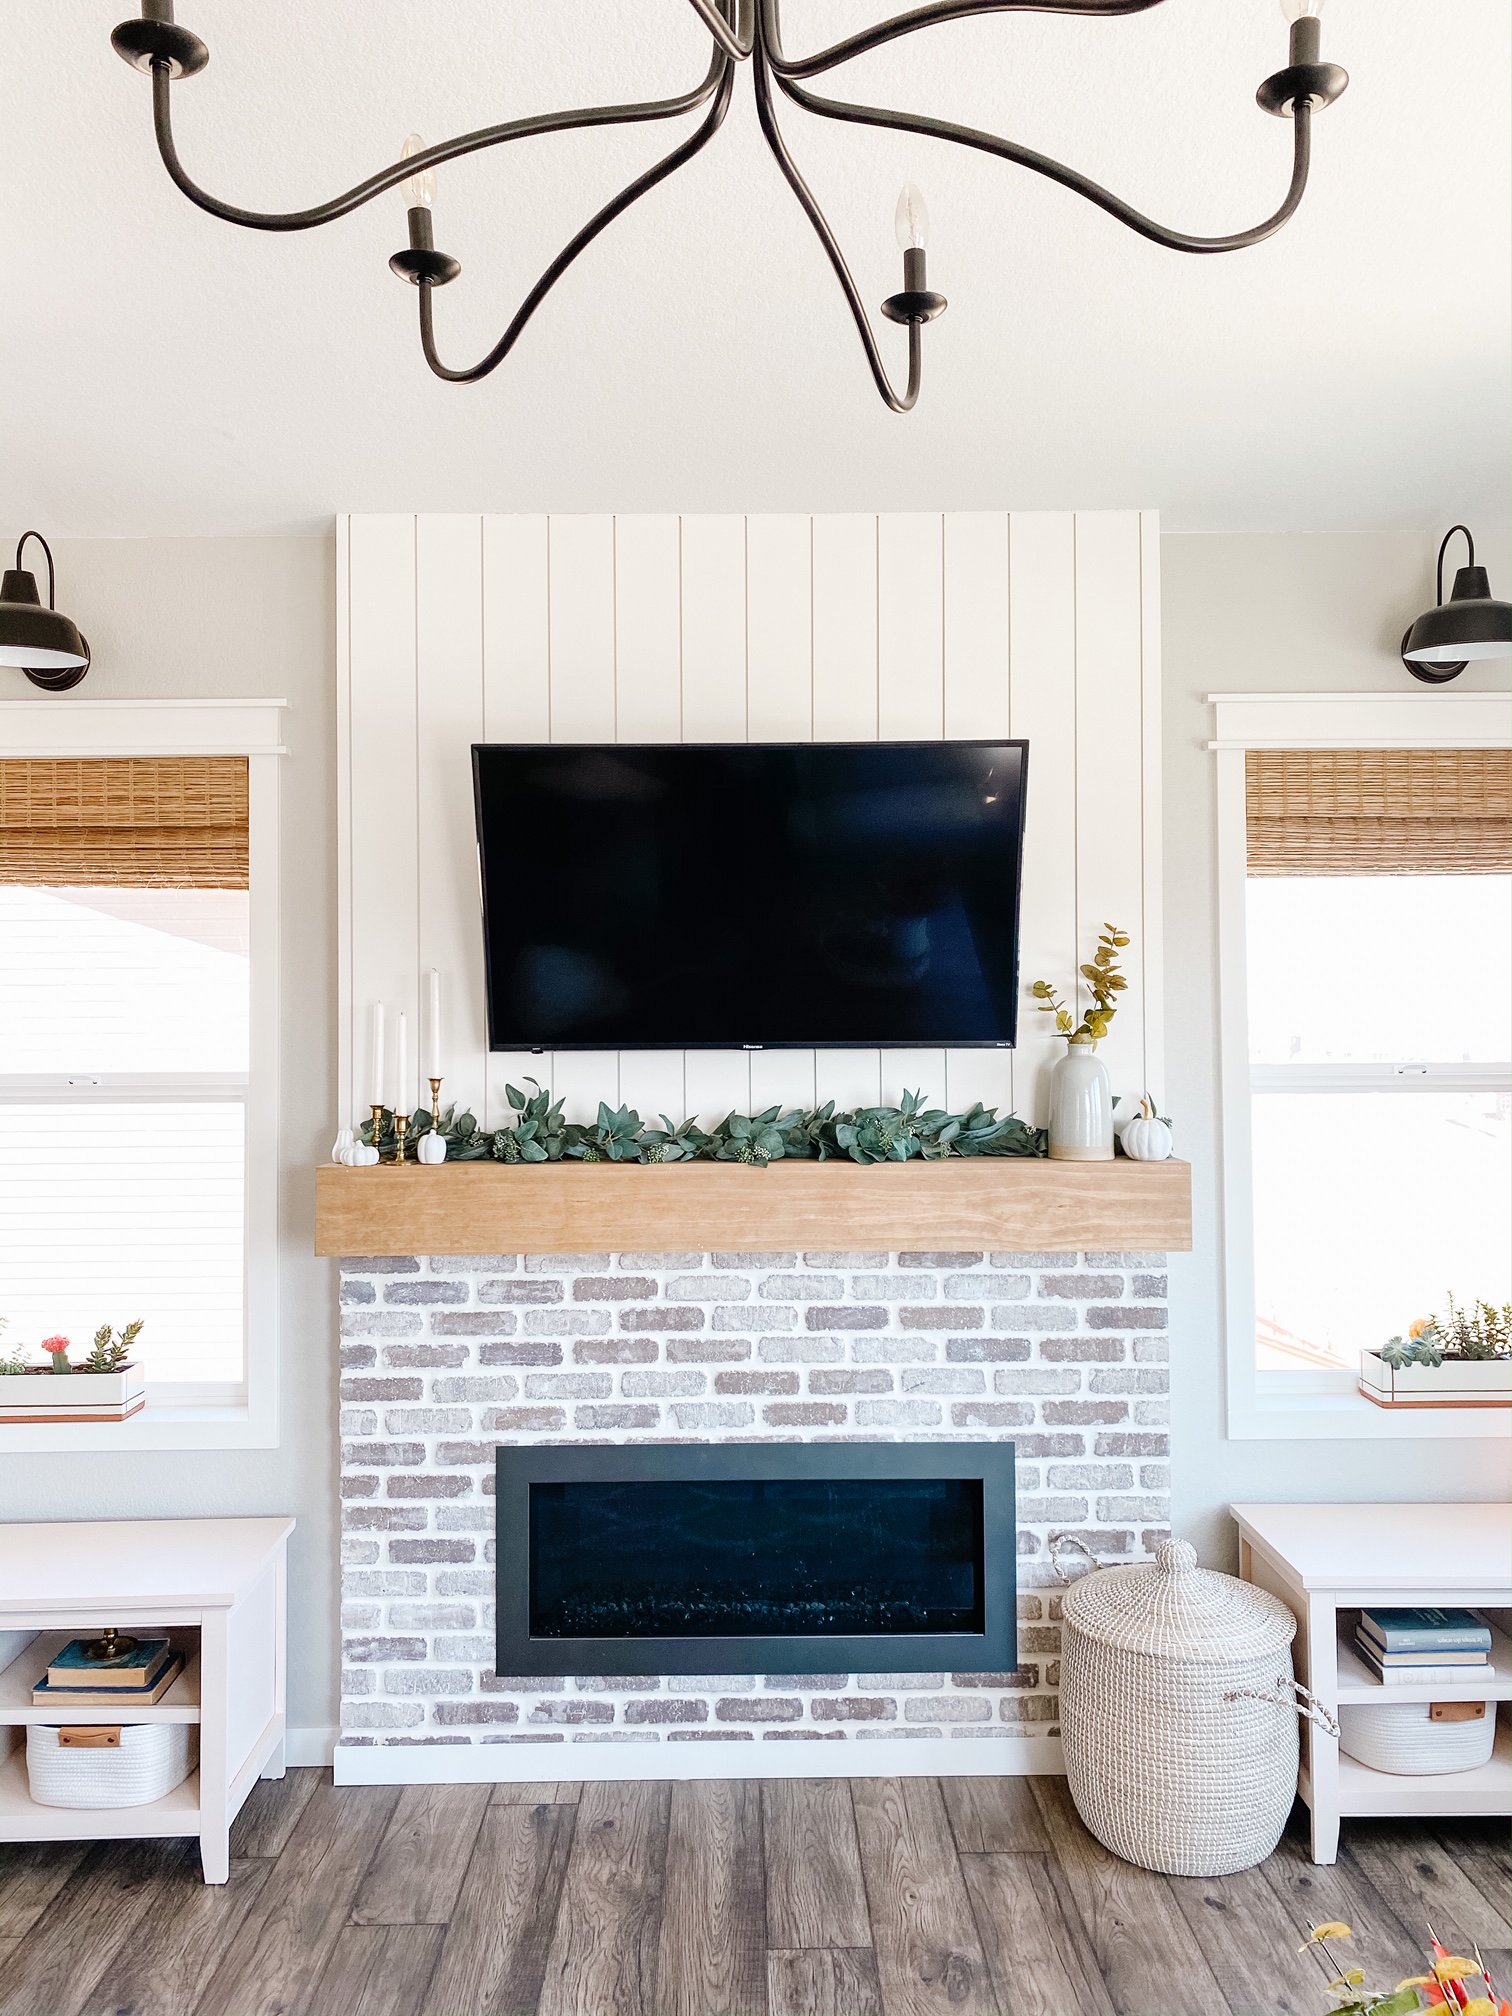
This fireplace makeover has been a long time coming! I have wanted to finish it since we moved in two and a half years ago. But life got in the way and we worked on other projects and we made every excuse in the book not to do it! Honestly, we thought it was going to be a lot more expensive than it was so we were waiting to save up enough to do it too! Turns out this project ended up being less than $400! Such a budget friendly fireplace makeover that anyone semi-handy can do. Comparing the before and after pictures make my heart so happy! What a huge difference this makeover made!

It took us two weekends to complete this fireplace wall. It took one day to build and install the mantel (if you want to see the tutorial for that then click here). One day to do the shiplap. One day to install the brick. And one day to grout the brick. Each day we were working for a total of 3-5 hours, so really it didn’t take much time at all!
This was our first time installing brick. It is definitely a little different than tile because of how you grout it. We wanted to make sure we did it the correct way so we watched a few YouTube videos to see how other people are installing it and went from there! Of course everyone has different ways of doing it, but overall the consensus was install using the same mortar and grout you would use with tile!
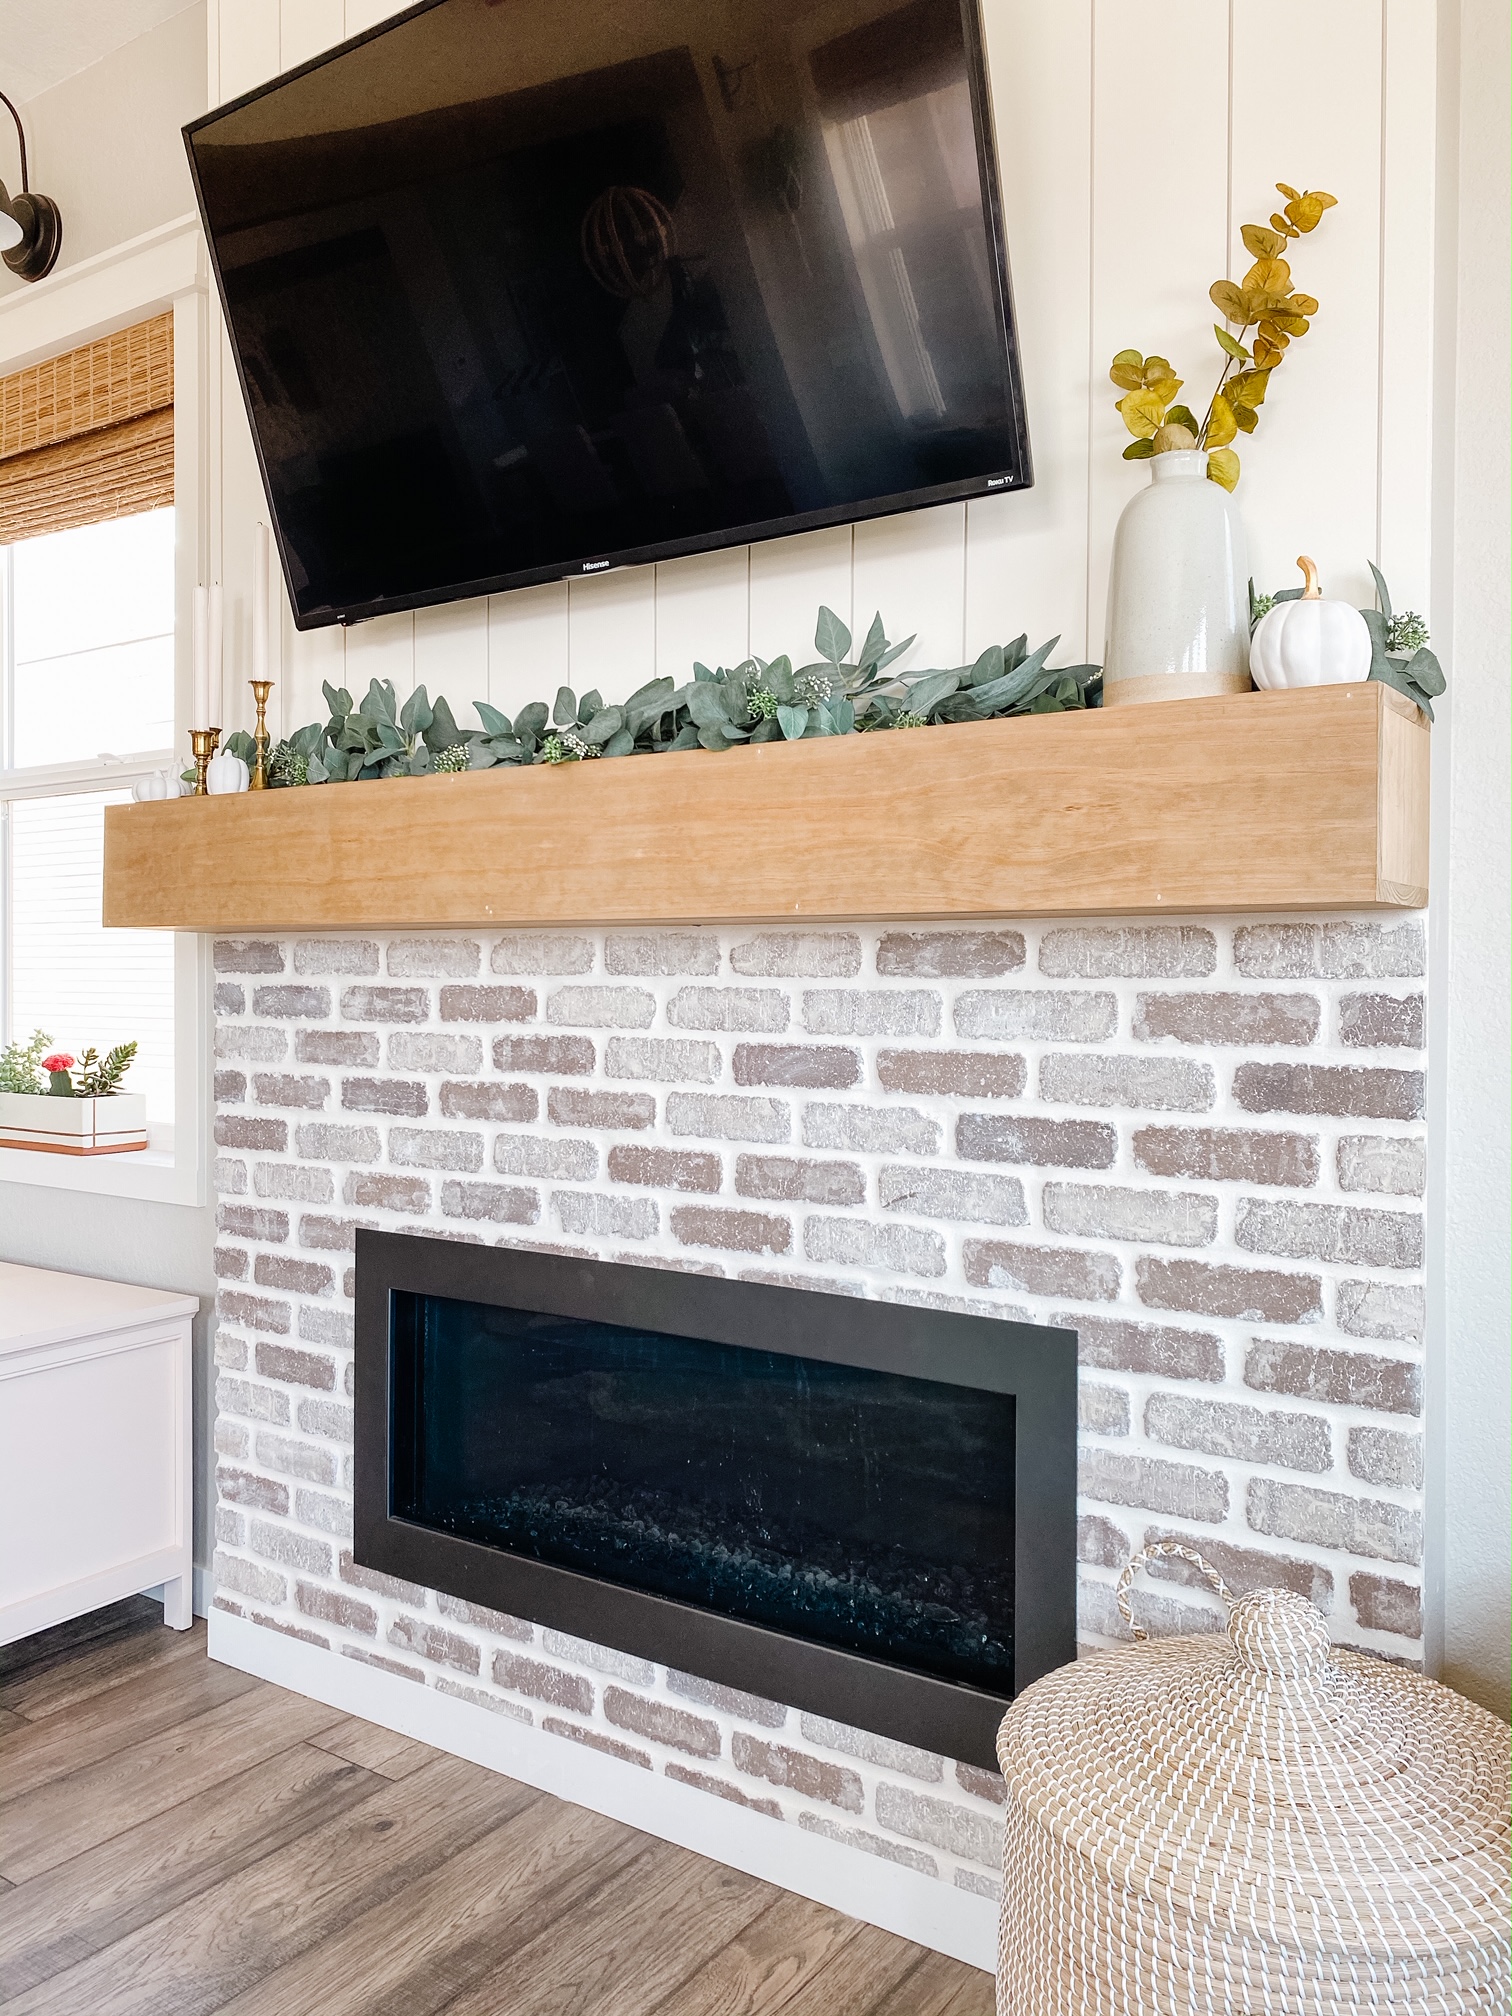
We used this mortar which we have used before and love because it is premixed! And we used this grout. We chose white because my original plan was to paint all the brick white (I will go into that more below) but you can choose whatever color grout you like! The brick we used is a sheet of real thin brick in the color Rushmore from Floor and Decor.

Now onto the paint dilemma. I need your help! At first I was planning on painting the brick the same white as the shiplap above (which is my favorite white- Alabaster by Sherwin Williams). However, now that the brick is up I like the color of the brick with the white grout. So now I have no clue what to do! I have always wanted to have an all white fireplace wall with something to give it texture, like shiplap and brick. I feel like white just looks good in this room and with the wood mantel. But tell me your thoughts in the comments below! I would love to hear your opinions on this!
Overall, I am so happy with how this fireplace makeover turned out! I can’t believe how different it makes the house feel. This fireplace wall can be seen from almost anywhere in the downstairs of our house and I just love how it makes the house feel complete! Don’t get me wrong, I am sure we will do more projects down here. However, it is definitely feeling more complete with the fireplace wall finally done! If you didn’t see my post from two weeks ago about this DIY Mantel make sure you check it out! I go into detail on how to create it with step by step instructions.
Hope you have a wonderful weekend! In two weeks I will be sharing about how I add simple Fall decor around my house! Become our email friend so you don’t miss that post!
See our Disclosure here.
Where are the benches under the windows from? I have almost the exact same set up?
Where is your light fixture/ chandelier from?
Hi, it was from Target a few years ago!
Love this! How did you do the edges of the brick? It looks great but did you have to do anything special?
Love the brick! I hope you’ve kept it…it’s beautiful! I’m actually going to try to immitate that look with my brick fireplace…using paint!
I did keep it! I ended up loving it!!
Where did you buy the electric fireplace? And what are the dimensions?
Where did you buy the electric fireplace? And what are it’s dimensions?
Hi! This was my friend’s home and the gas fireplace insert came with her home! I’m sorry I’m not sure what size it is.
What color is that brick?
The brick sheets are from Floor and Decor and are the color Rushmore